> ## Documentation Index
> Fetch the complete documentation index at: https://docs.chatnode.ai/docs/llms.txt
> Use this file to discover all available pages before exploring further.
# Deploy to Your Website
Follow the steps below to deploy your agent and make it accessible on your website.
**1. Navigate to the Deploy Tab**
From your ChatNode dashboard:
* Open your agent
* Click **Deploy** in the left navigation menu
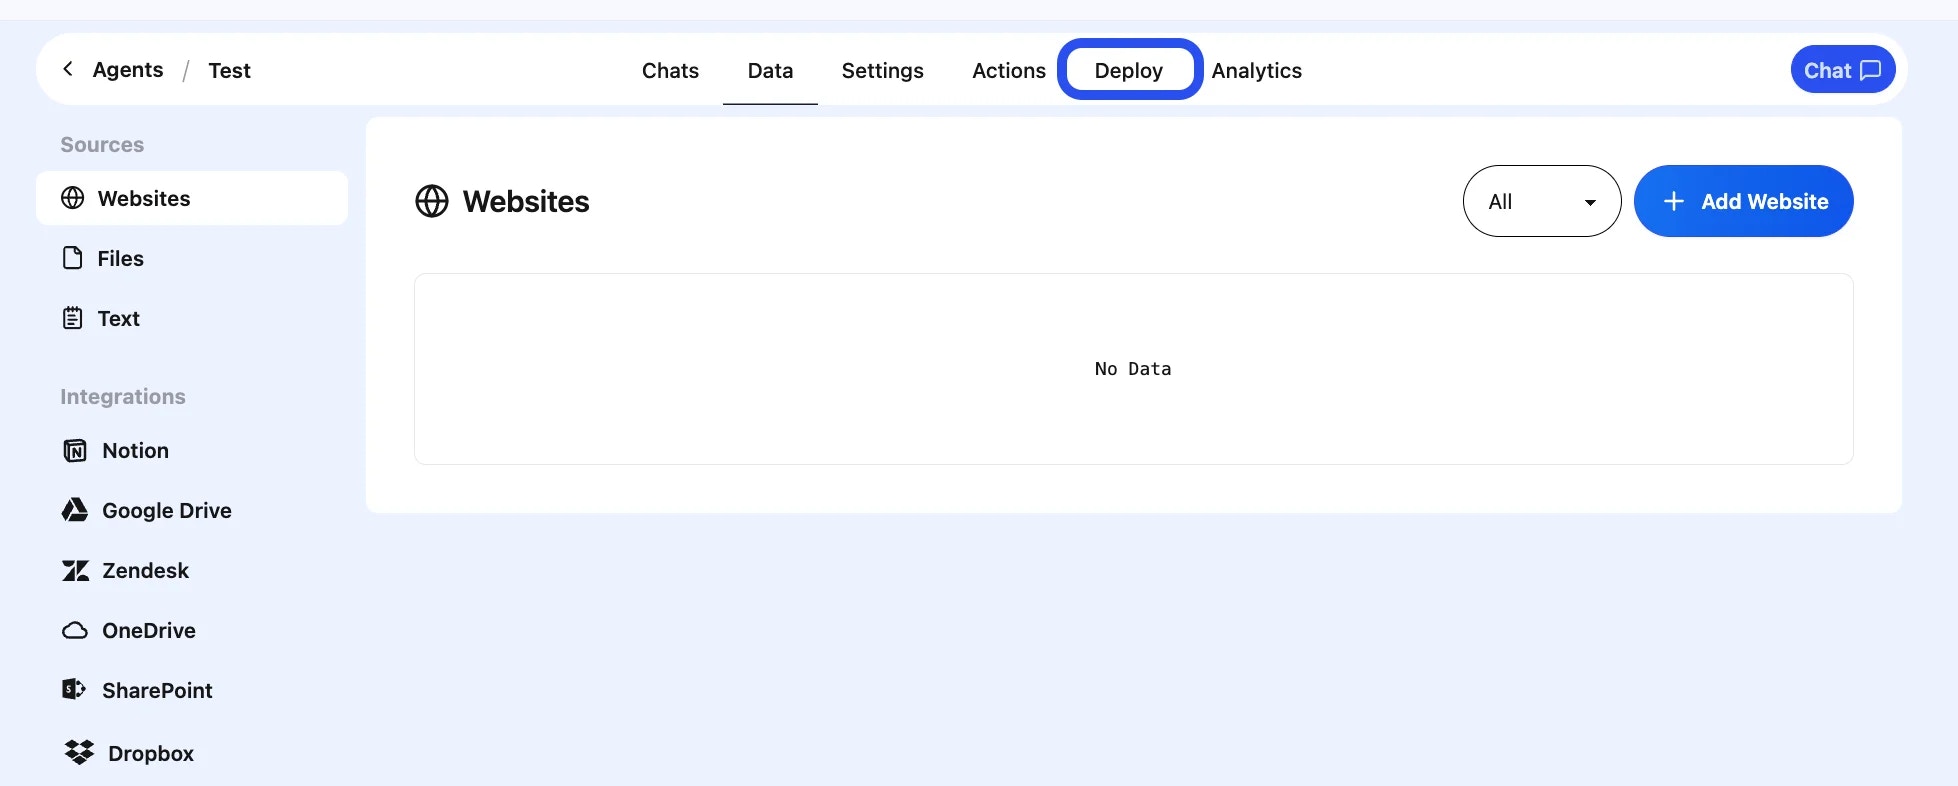 This is where you’ll find all available deployment options.
**2. Make Your Agent Public**
If prompted, set your agent to **Public** to allow it to be embedded externally.
You will see a pop-up asking you to confirm privacy settings.
Click **Make Public**.
This is where you’ll find all available deployment options.
**2. Make Your Agent Public**
If prompted, set your agent to **Public** to allow it to be embedded externally.
You will see a pop-up asking you to confirm privacy settings.
Click **Make Public**.
 This allows visitors on your website to interact with the agent without authentication.
**3. Choose a Deployment Method**
Once on the Deploy page, you can choose between multiple integration options.
For website embedding, we recommend either:
**A. Chat Widget (Recommended)**
This option allows your bot to appear as a floating chat bubble on any webpage.
This allows visitors on your website to interact with the agent without authentication.
**3. Choose a Deployment Method**
Once on the Deploy page, you can choose between multiple integration options.
For website embedding, we recommend either:
**A. Chat Widget (Recommended)**
This option allows your bot to appear as a floating chat bubble on any webpage.
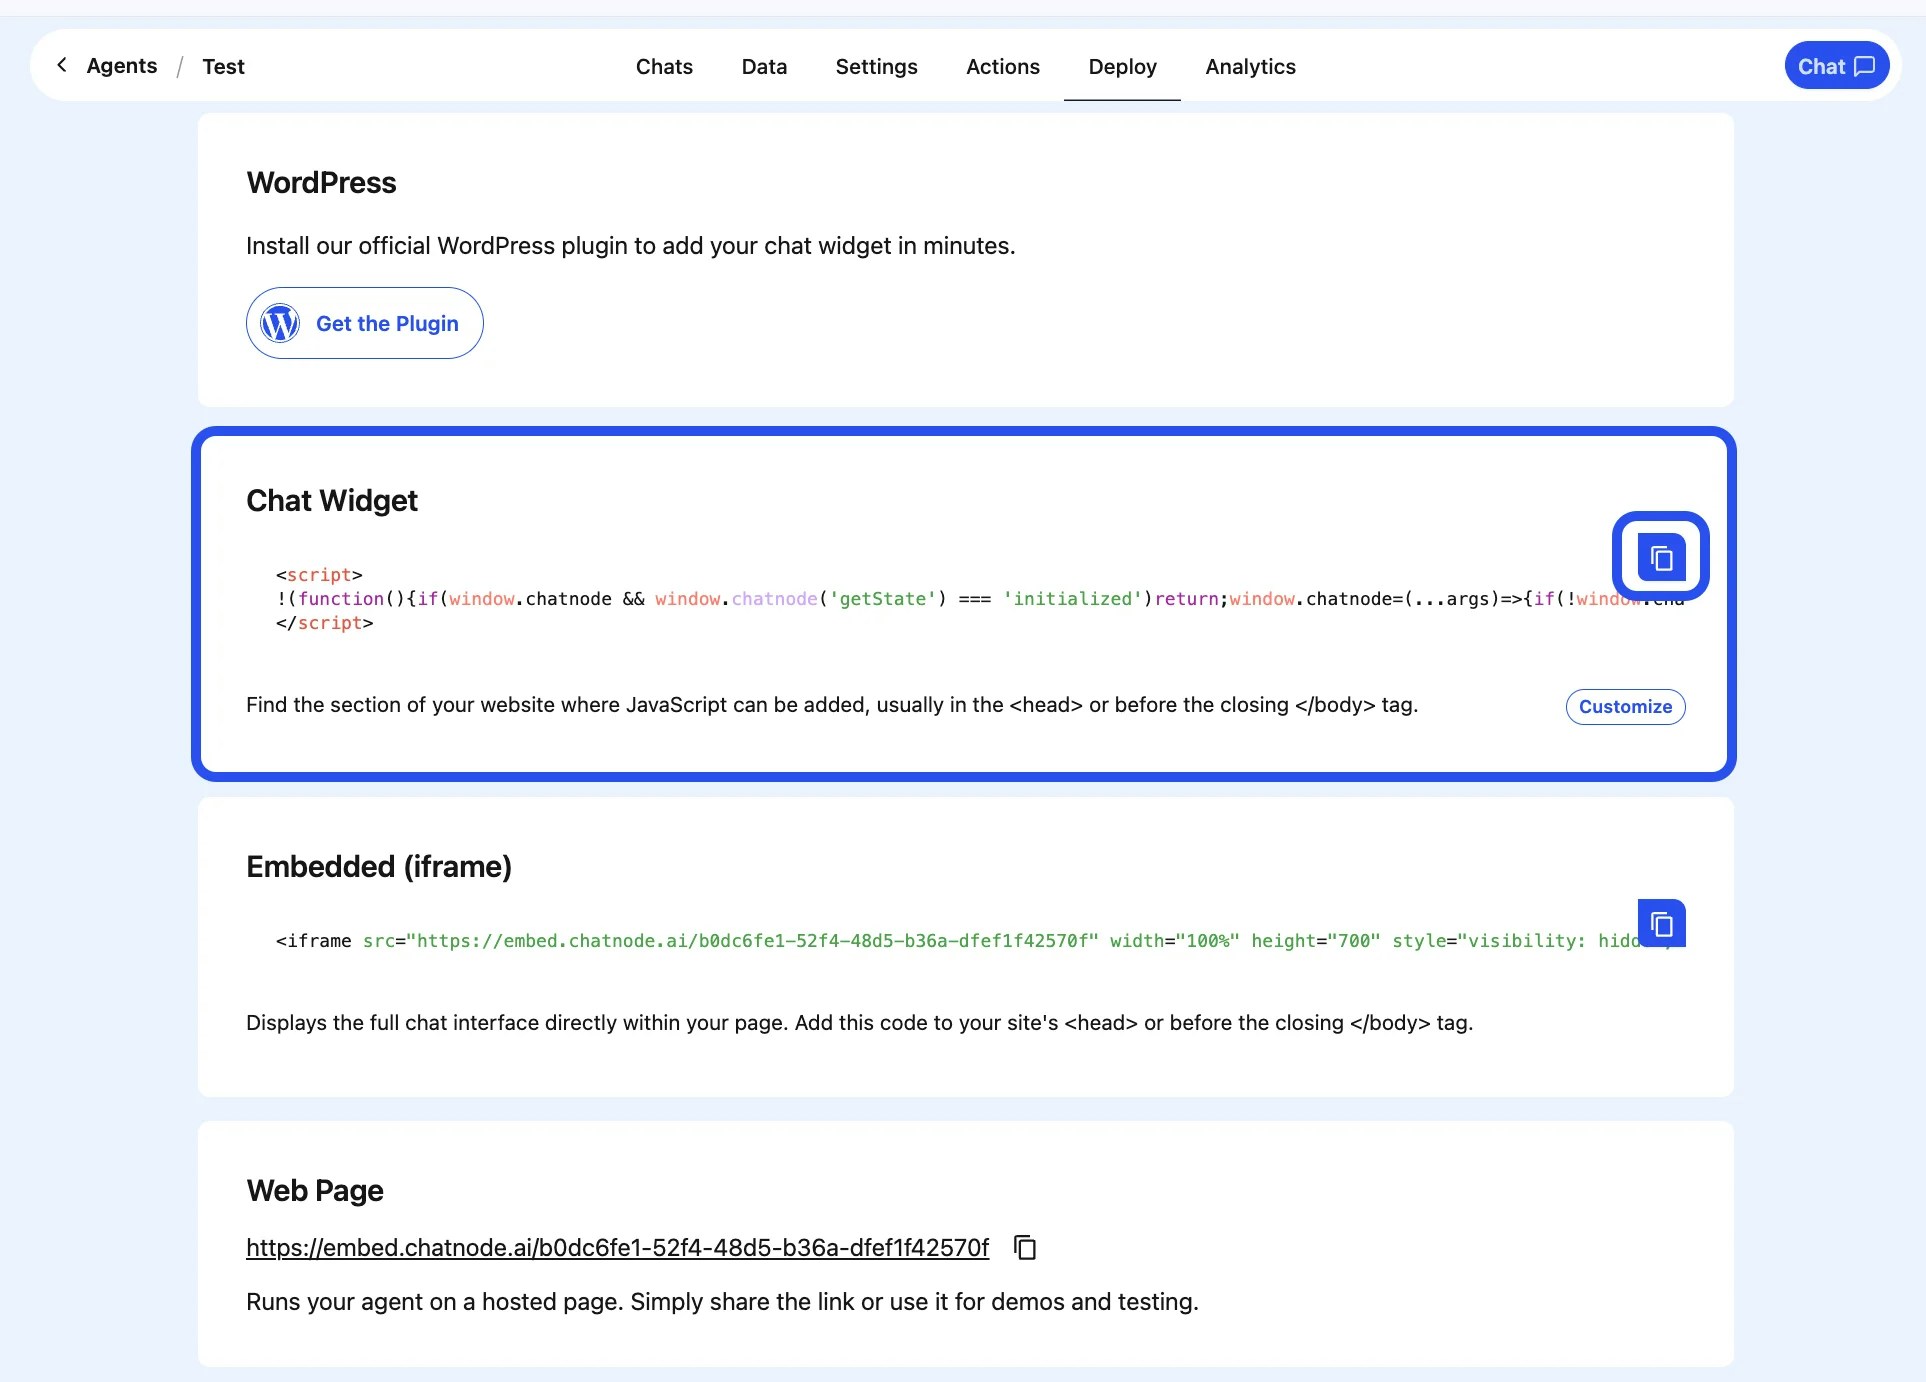 **How to use:**
* Copy the provided script snippet
* Paste it into your website’s HTML
* Save and publish your changes
**Note:**
You can add the custom JavaScript **anywhere** in your site’s HTML. Script placement will **not** affect loading, so feel free to place it wherever is most convenient.
**How to use:**
* Copy the provided script snippet
* Paste it into your website’s HTML
* Save and publish your changes
**Note:**
You can add the custom JavaScript **anywhere** in your site’s HTML. Script placement will **not** affect loading, so feel free to place it wherever is most convenient.
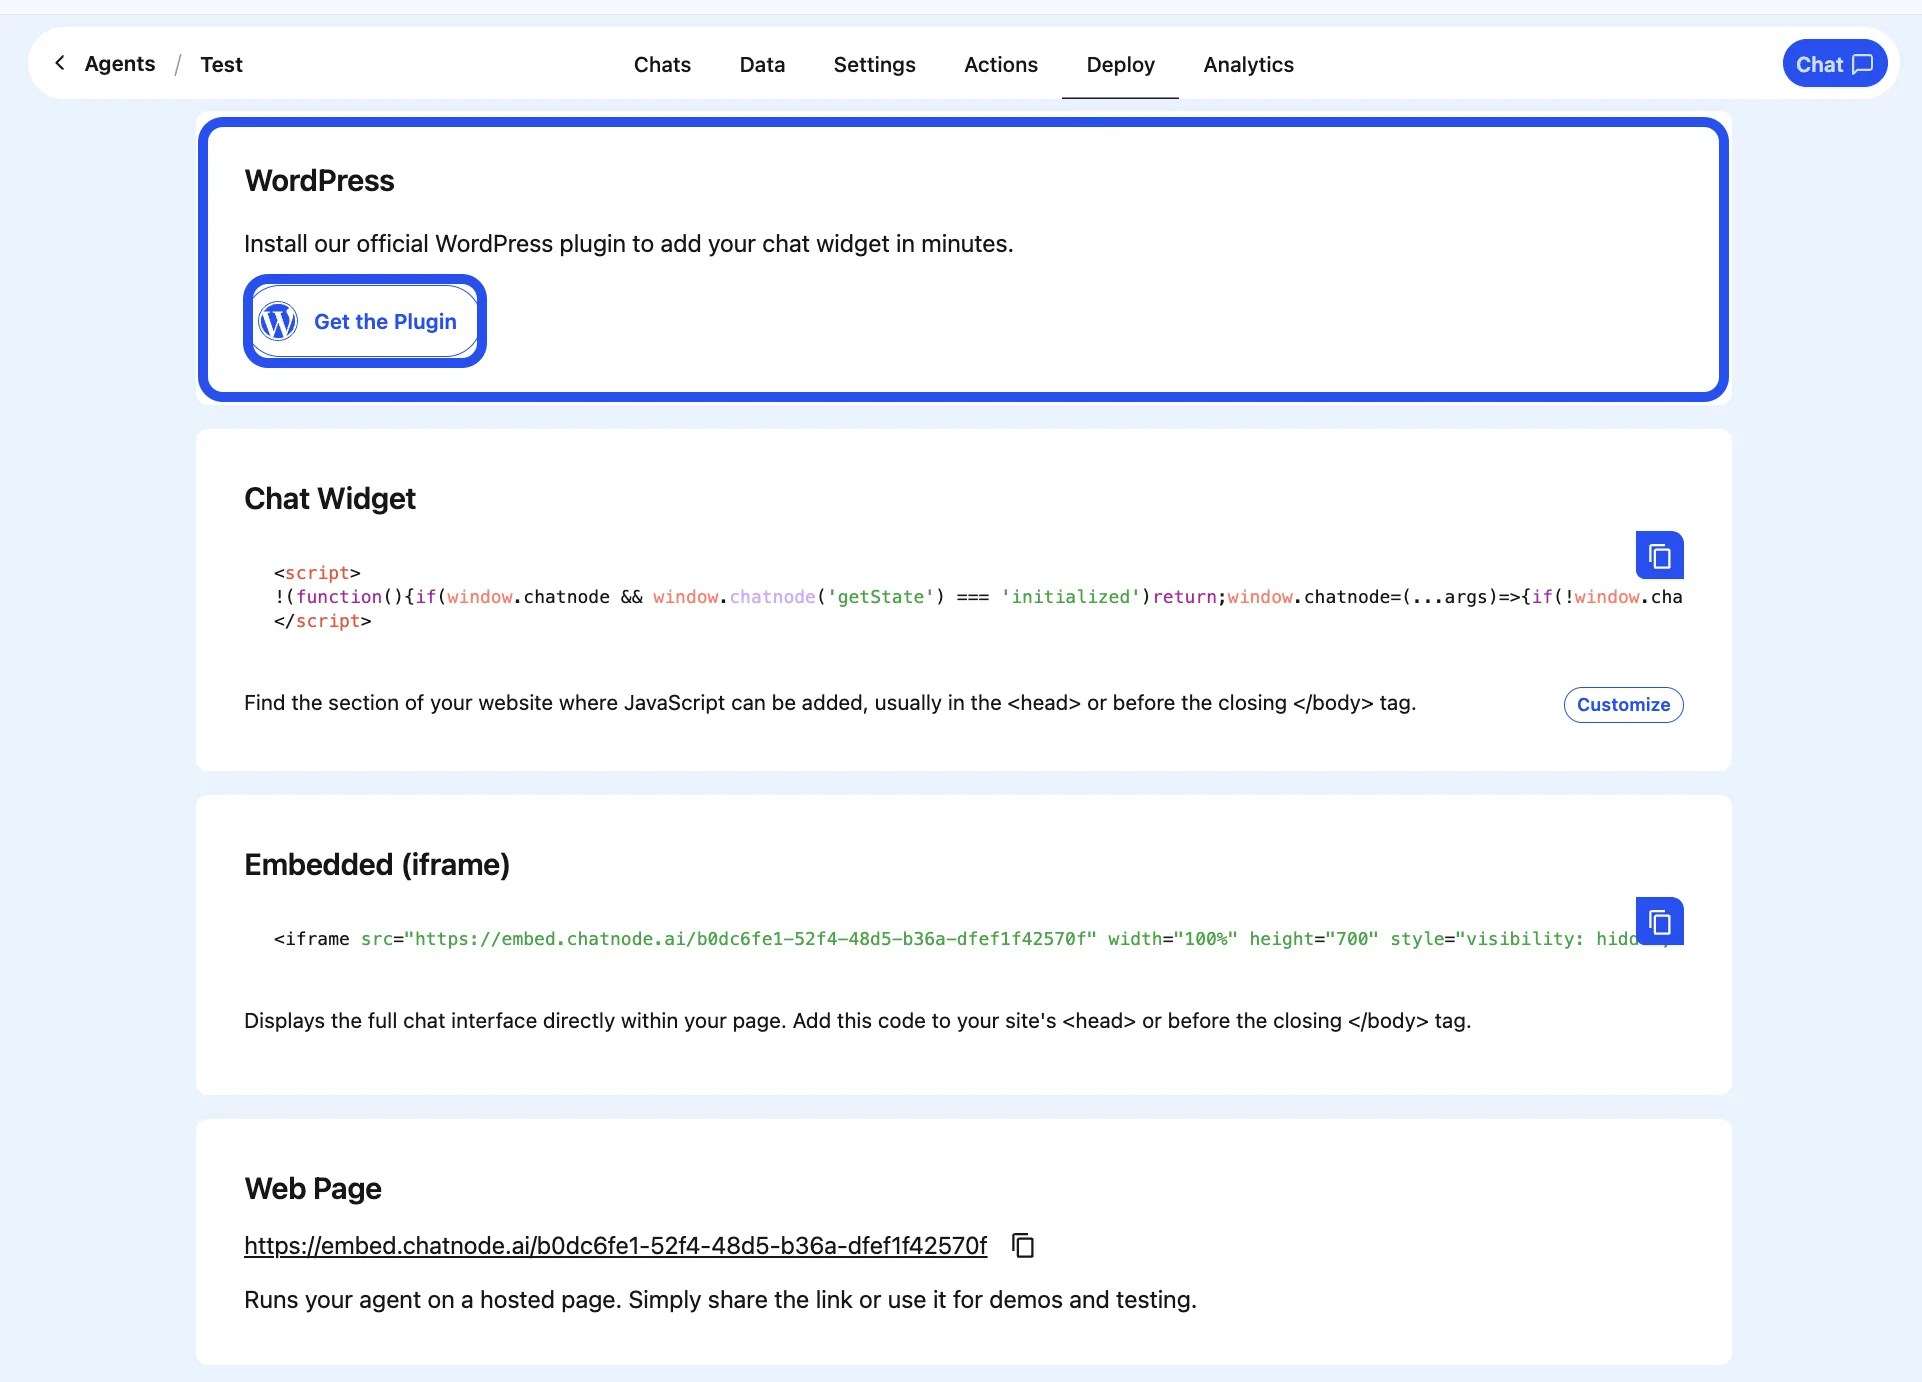
.webp?fit=max&auto=format&n=Q4WkqaYaPH54EekZ&q=85&s=663215388f65a236319fe518338c9ff2) **B. WordPress Plugin**
If your site runs on WordPress:
* Install the ChatNode WordPress plugin (if applicable).
* Add your bot’s share code to the plugin settings.
* Save your configuration.
This embeds the widget without modifying theme files manually.
**B. WordPress Plugin**
If your site runs on WordPress:
* Install the ChatNode WordPress plugin (if applicable).
* Add your bot’s share code to the plugin settings.
* Save your configuration.
This embeds the widget without modifying theme files manually.
 **4. Verify the Widget**
After adding the code/plugin:
* Refresh your live website
* Look for the chat bubble in the corner of the page
* Send a few messages to ensure it loads correctly
**Troubleshooting**
If you don’t see the widget:
* Ensure the agent is set to **Public**
* Confirm you saved/published changes
* Clear your browser cache
* Disable caching plugins temporarily (WordPress)
Your ChatNode agent is now live and ready to assist your visitors!
**4. Verify the Widget**
After adding the code/plugin:
* Refresh your live website
* Look for the chat bubble in the corner of the page
* Send a few messages to ensure it loads correctly
**Troubleshooting**
If you don’t see the widget:
* Ensure the agent is set to **Public**
* Confirm you saved/published changes
* Clear your browser cache
* Disable caching plugins temporarily (WordPress)
Your ChatNode agent is now live and ready to assist your visitors!