Steps to Integrate Dropbox with ChatNode:
-
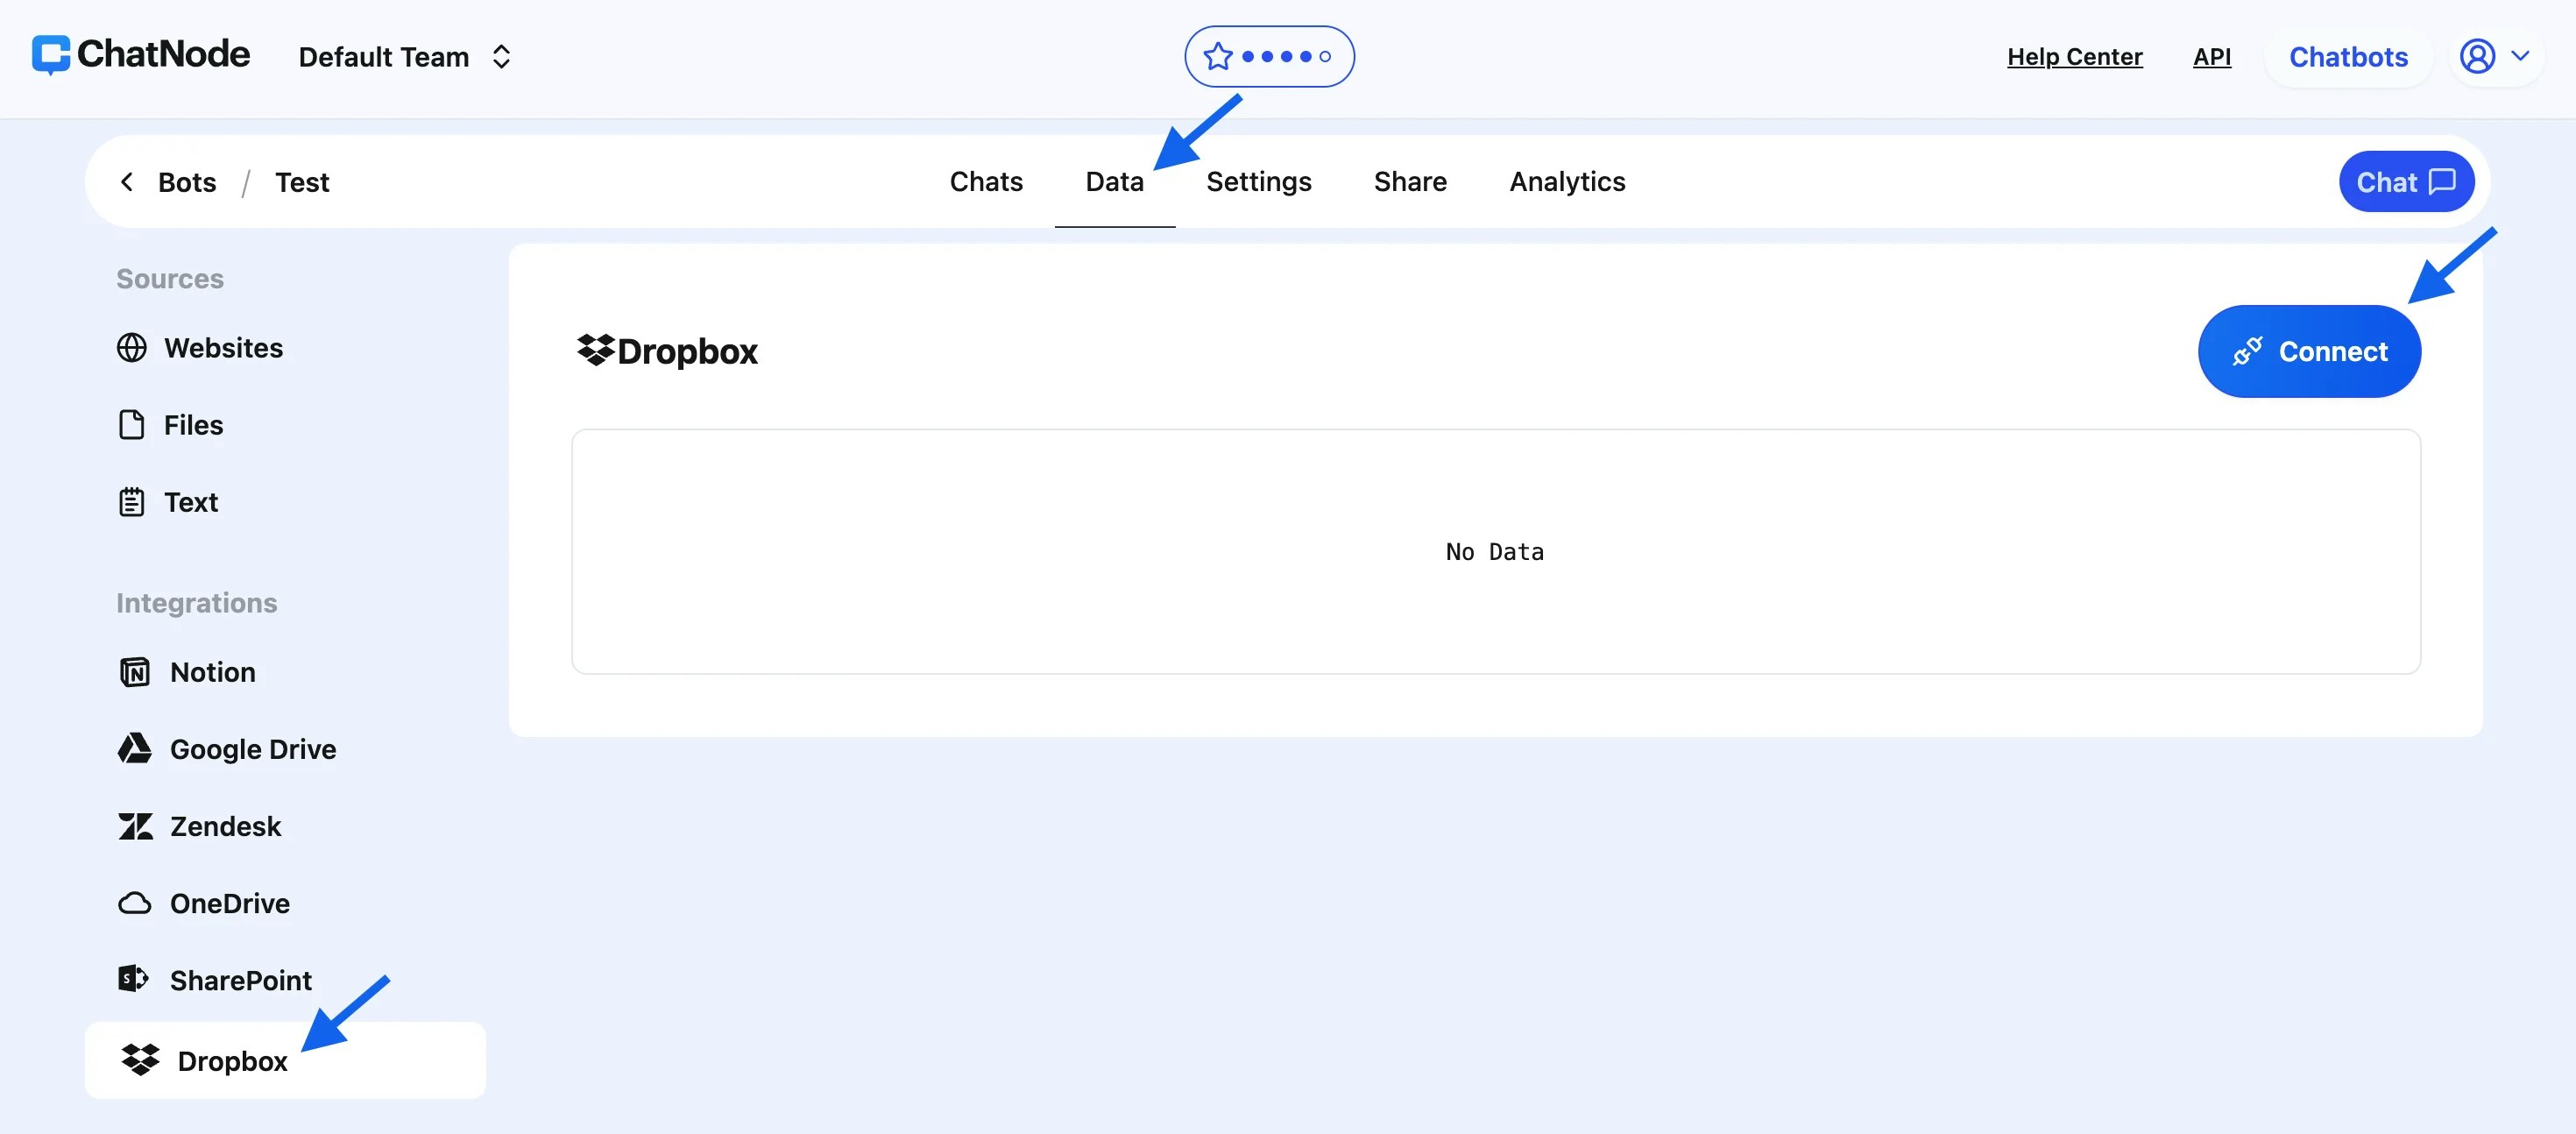
Access the Integration:
- Navigate to the Data section in your ChatNode dashboard.
- Under Integrations, click on Dropbox.
-
Connect Your Dropbox Account:
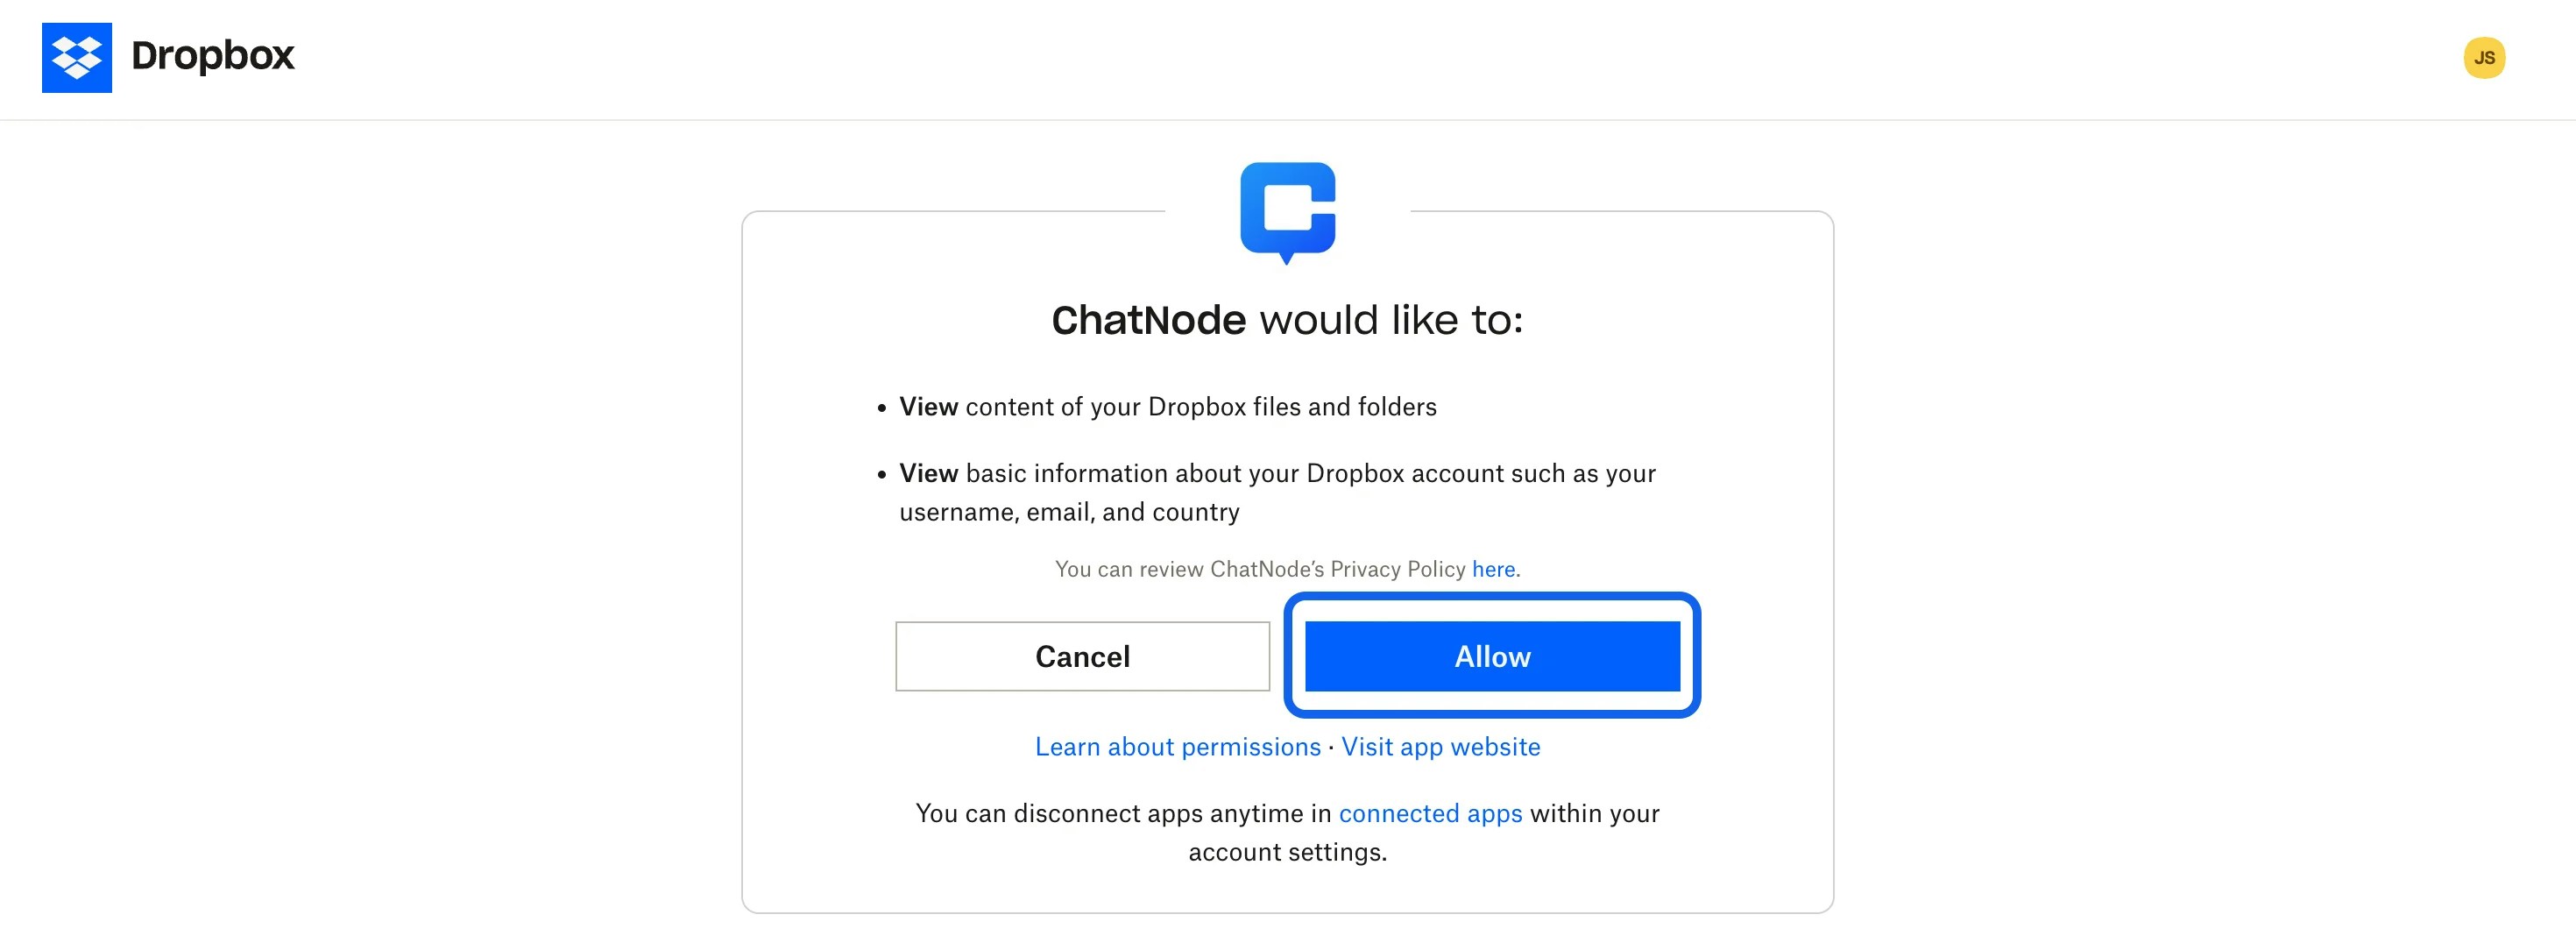
- Click the Connect button in the Dropbox panel.
- A pop-up will appear requesting your permission for ChatNode to access your Dropbox account.
- Click Allow to grant the necessary permissions.
-
Confirm Connection:
- Once the connection is successful, a confirmation pop-up will notify you that your Dropbox account is now linked to ChatNode.
-
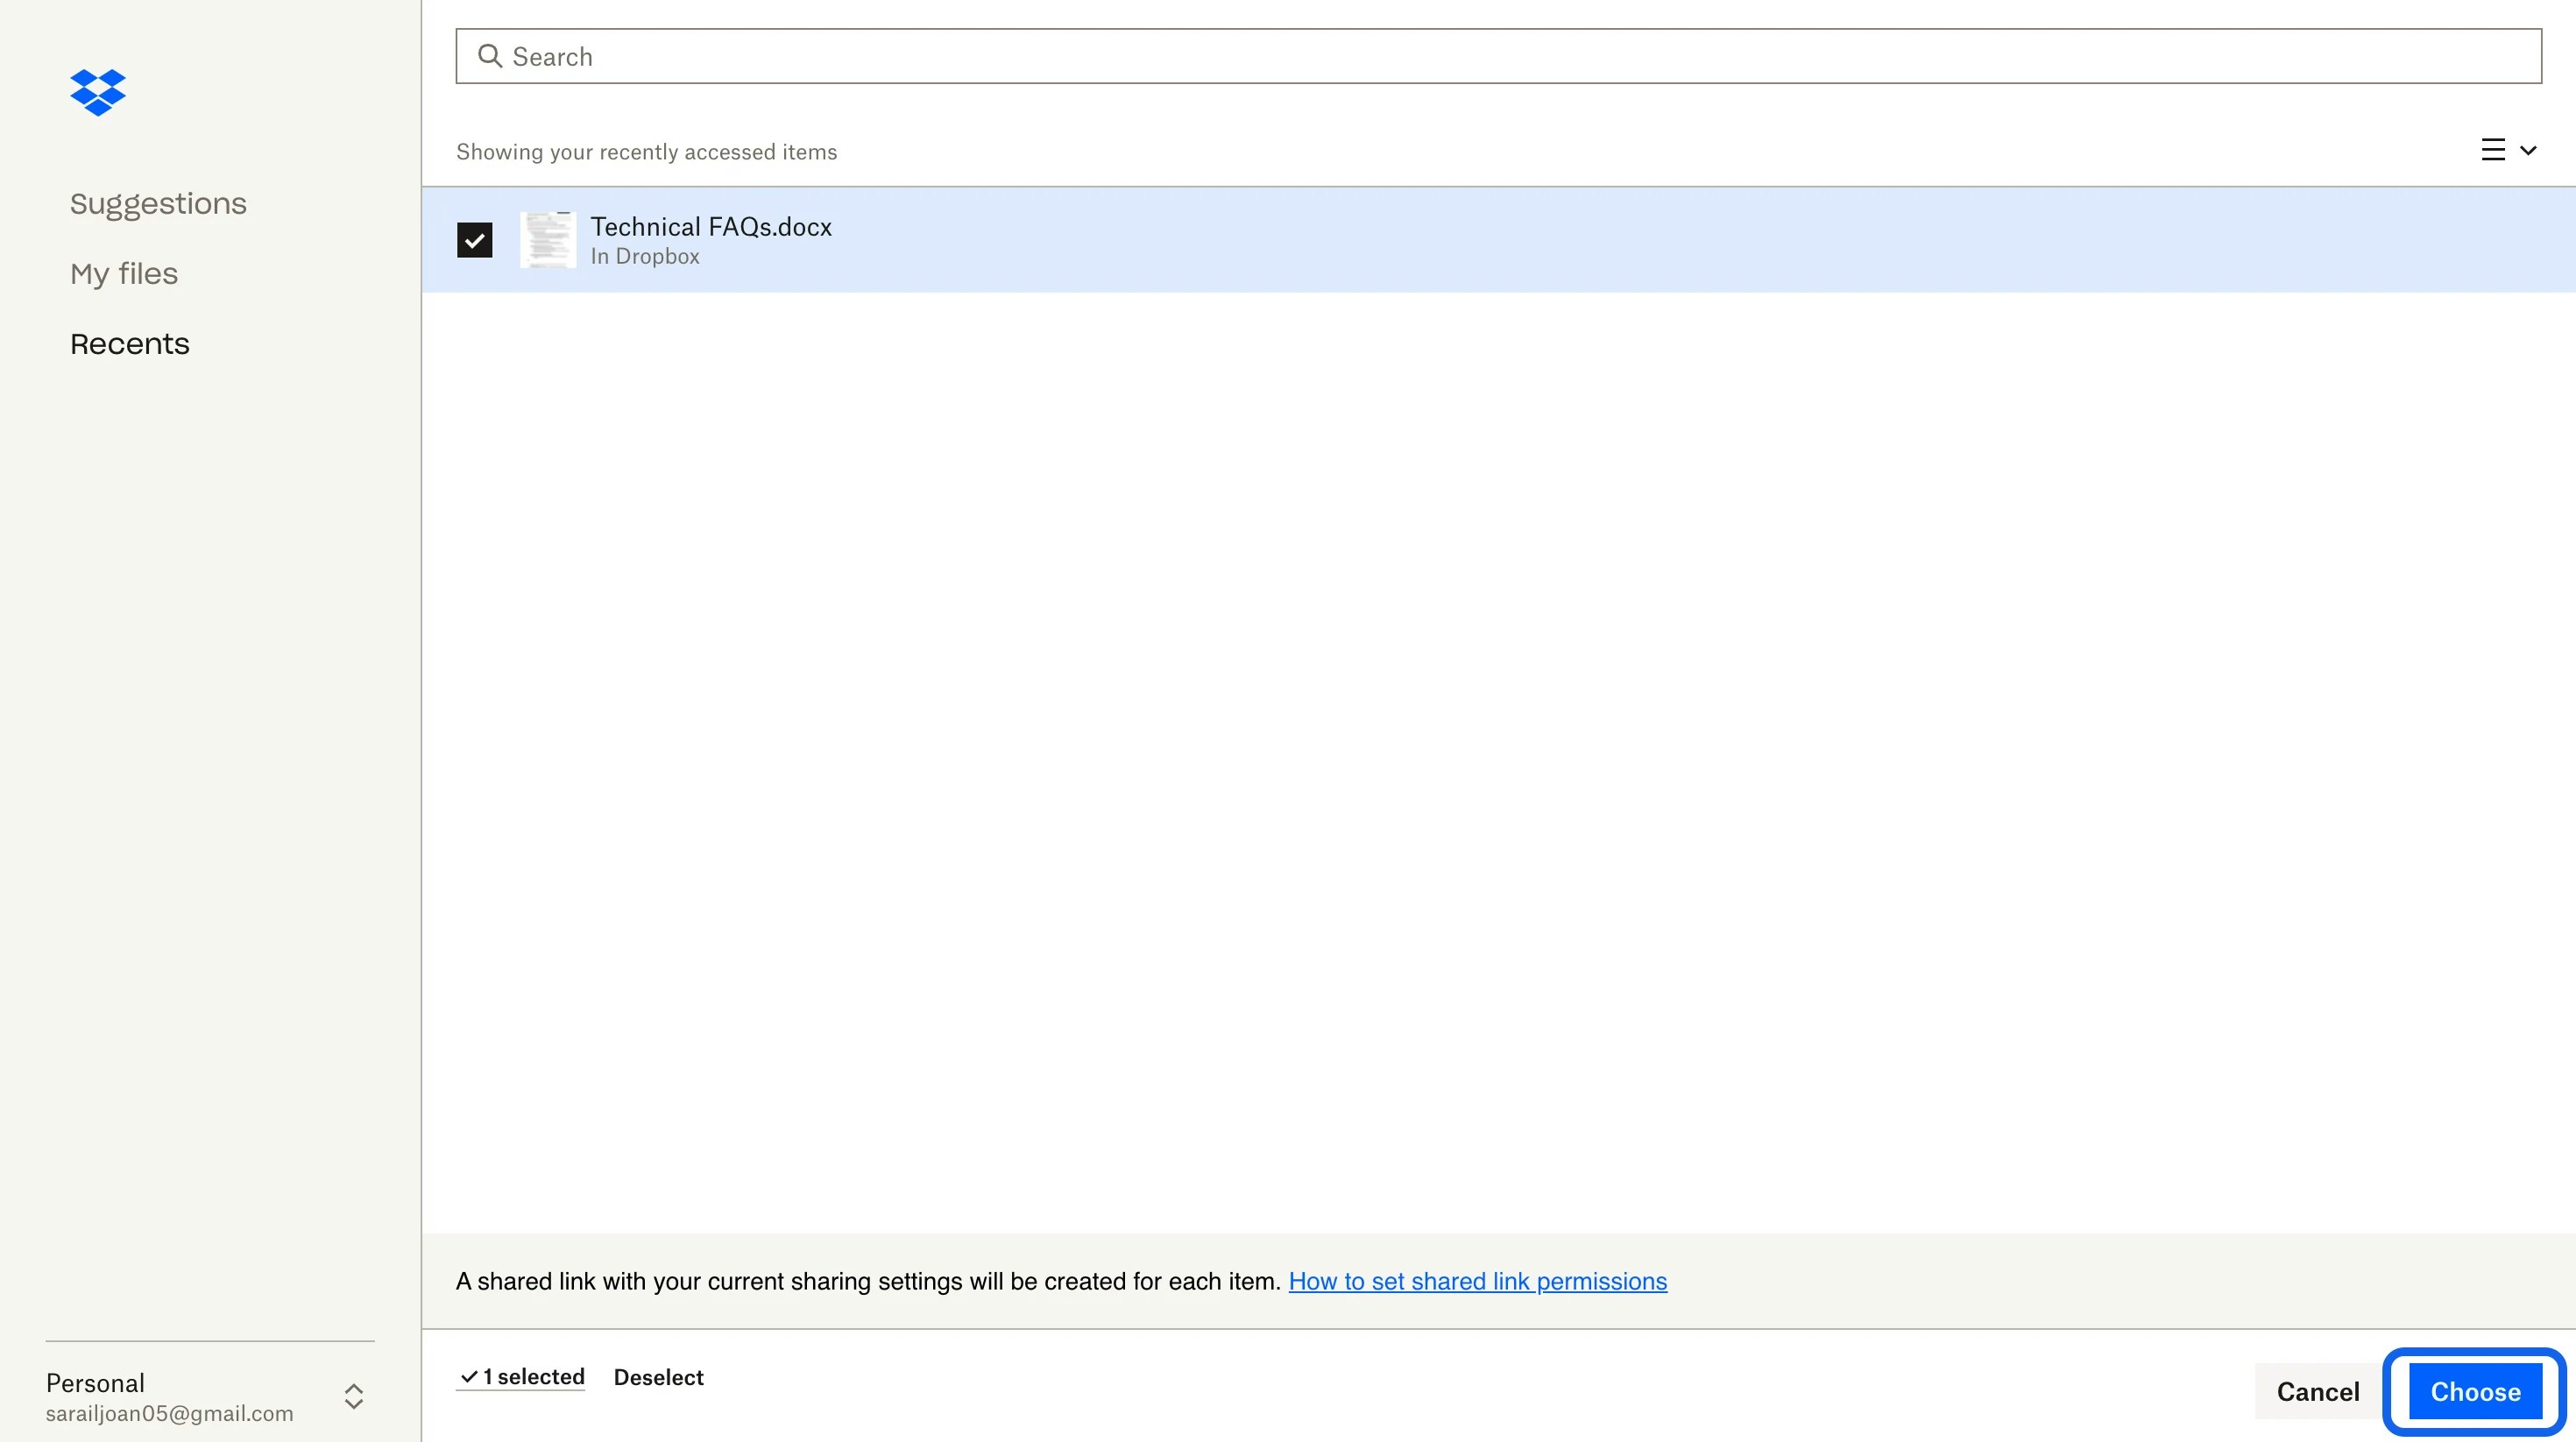
Select Files for Training:
- Click Select Files to browse through your Dropbox files.
- Tick the checkboxes next to the files you want to upload and train.
- After selecting the files, click Choose.
-
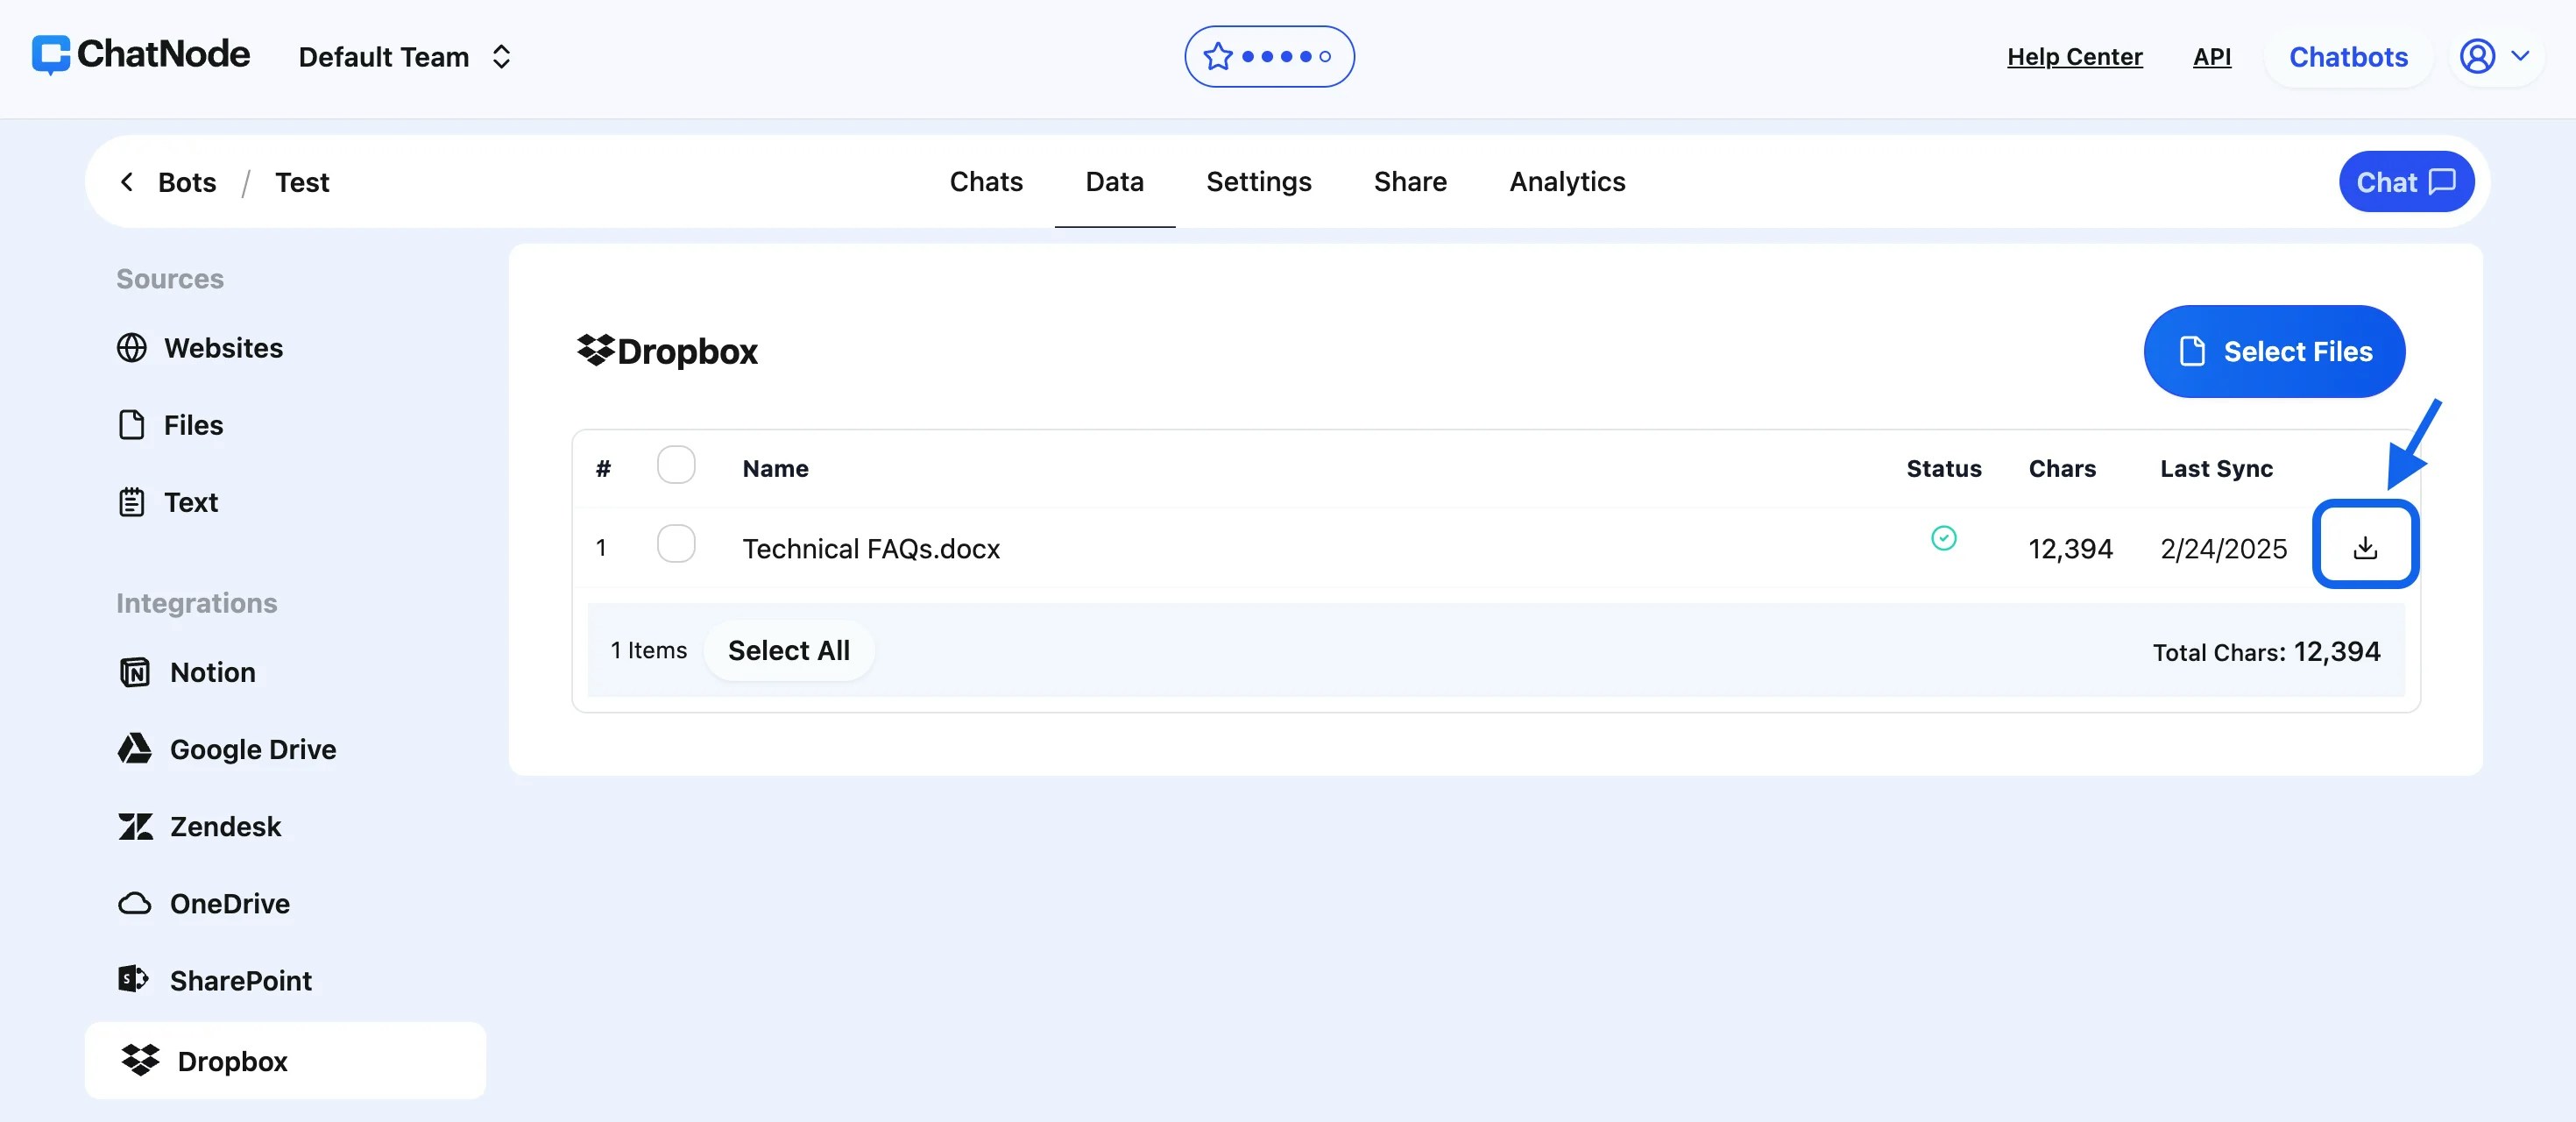
Automatic Upload and Training:
- The selected files will be uploaded to ChatNode and automatically trained for agent use.
- You can monitor the training status in the Dropbox panel.
Managing Your Integrated Files:
-
Download Files:
- Each uploaded file includes an option to download its content in
.txtformat for offline review or storage.
- Each uploaded file includes an option to download its content in
-
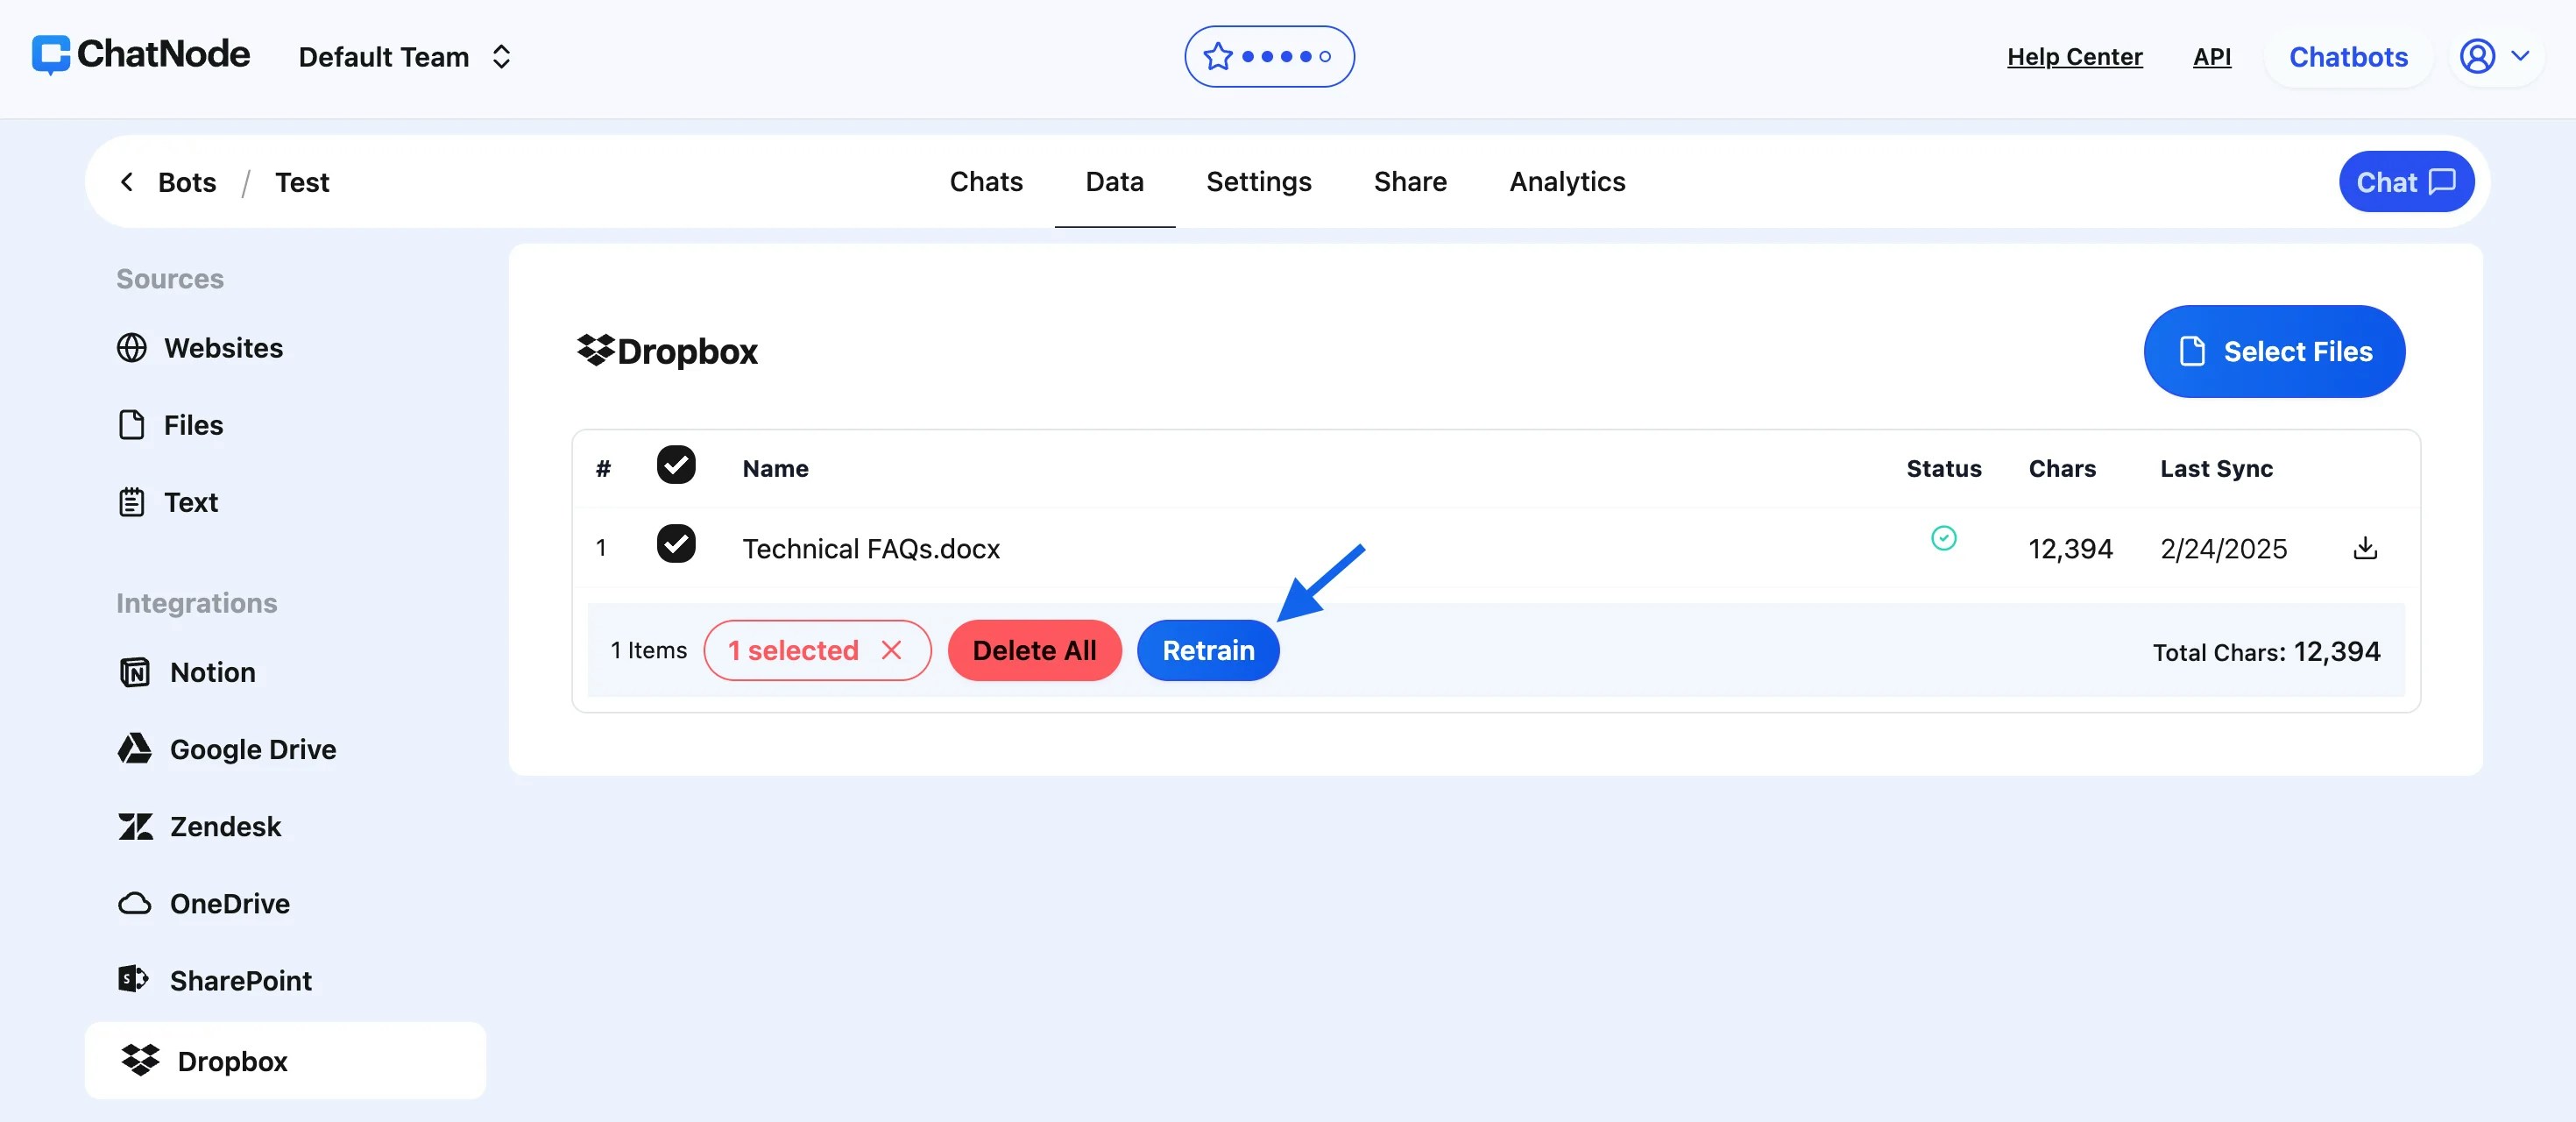
Retrain with Updated Information:
- If a file in Dropbox has been updated, tick the checkbox next to the updated file in ChatNode and click Retrain. This ensures your agent uses the most current data.
-
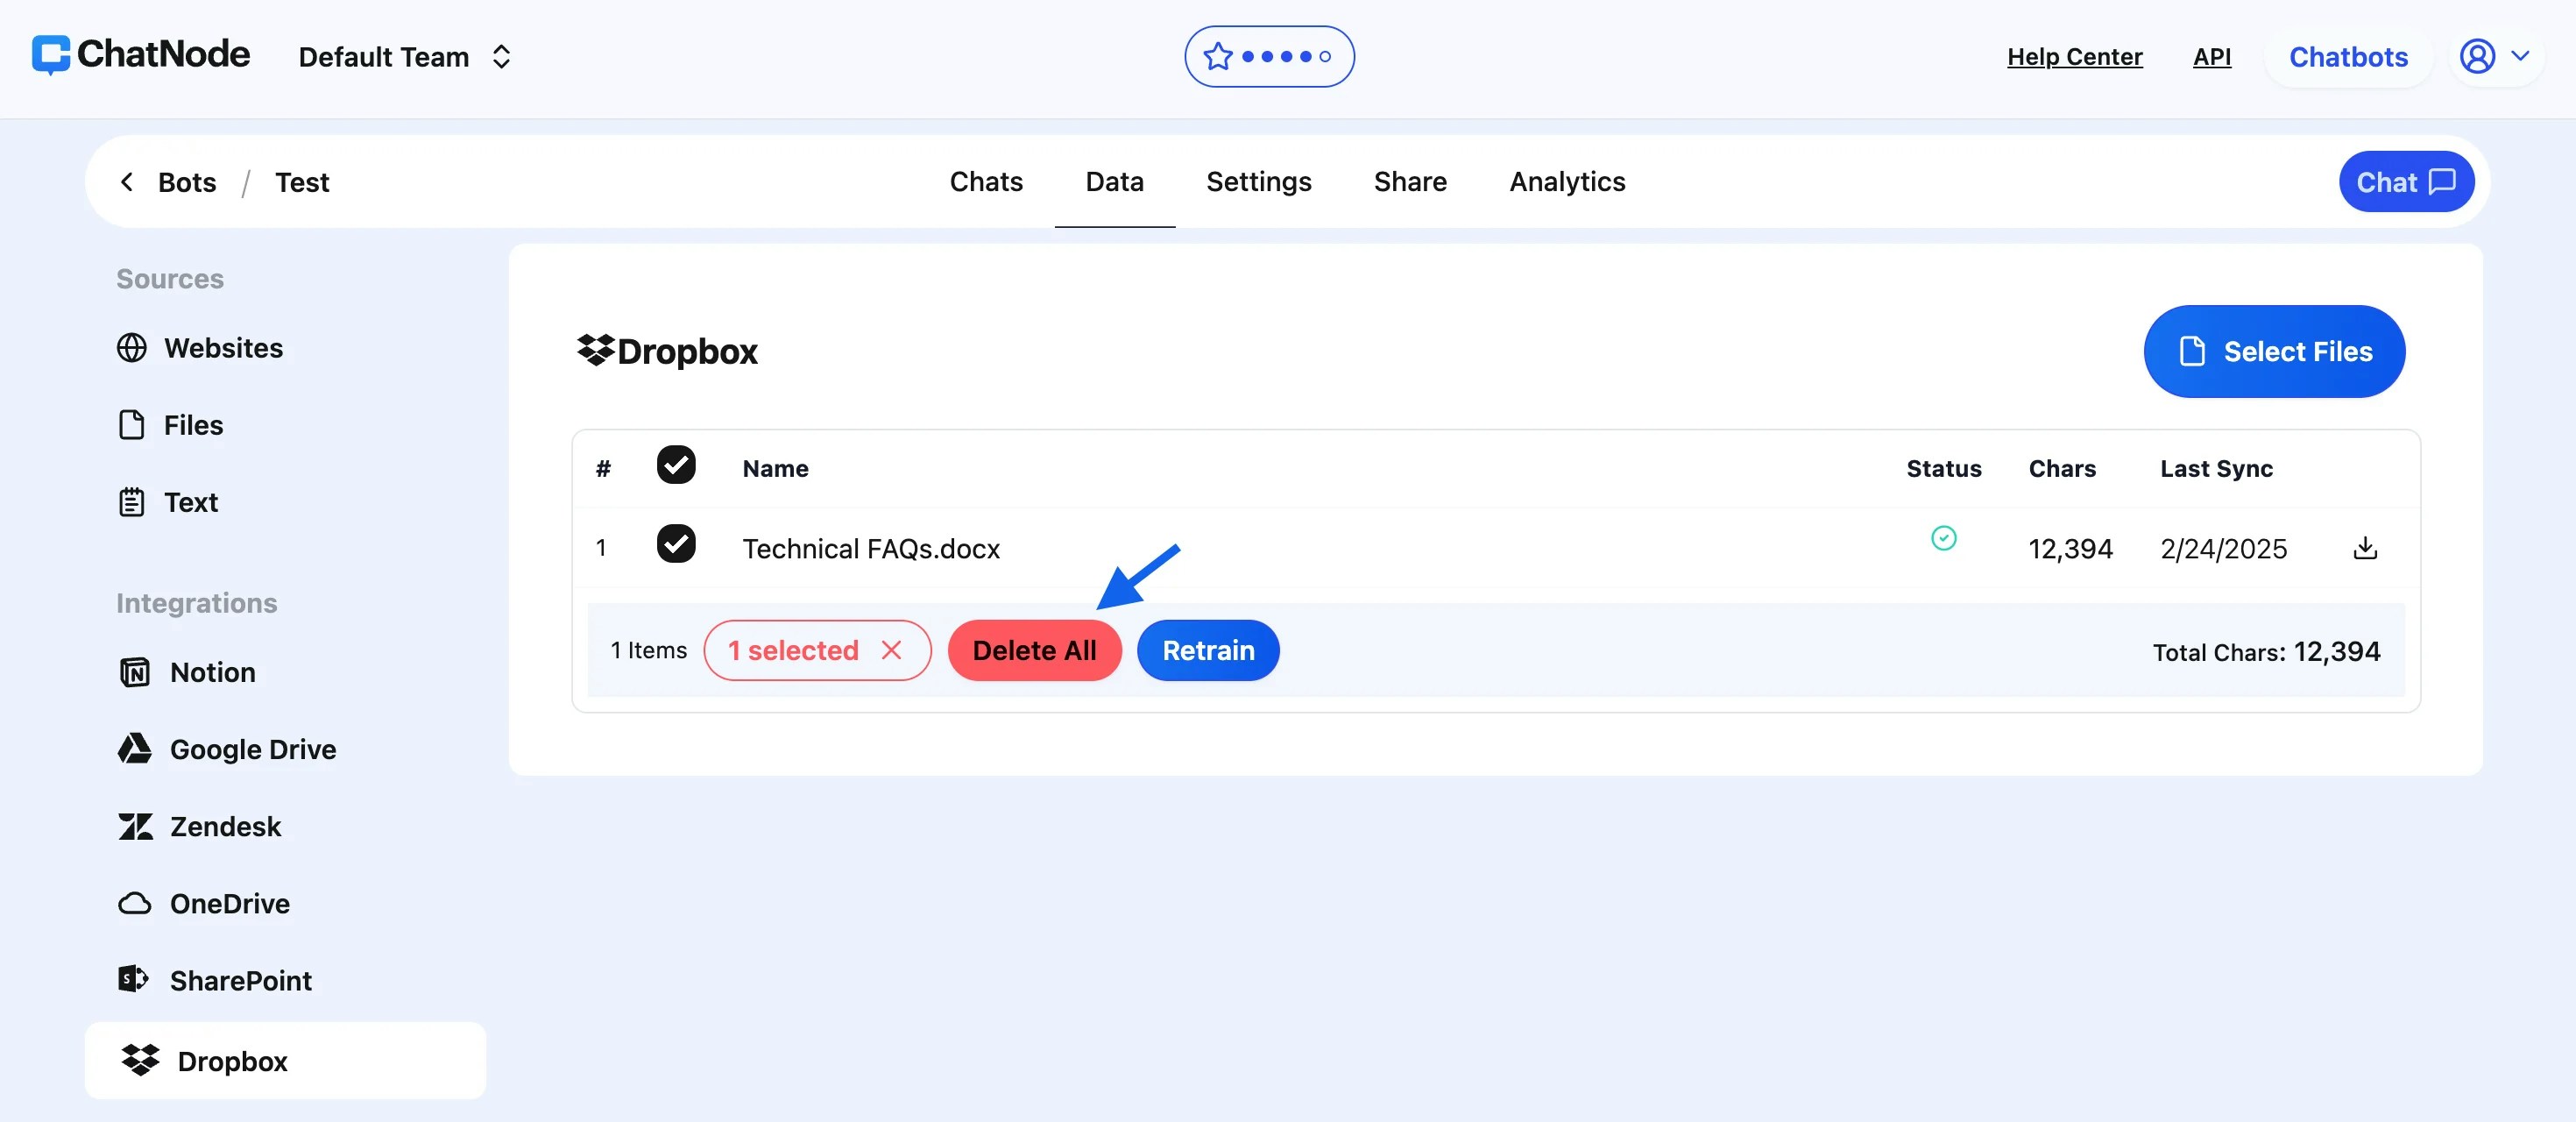
Add or Remove Files:
- To Include New Files: Repeat the Select Files process to upload additional data.
- To Remove Files: Tick the checkbox next to the file you wish to delete and click Delete. This will remove the file from ChatNode’s training dataset.
Benefits of Dropbox Integration:
- Effortless Data Synchronization: Quickly connect and upload files from Dropbox to ChatNode.
- Real-Time Updates: Ensure your agent remains accurate by retraining with updated files.
-
Backup Options: Download files in
.txtformat for archival or offline usage.