Steps to Integrate Google Drive with ChatNode:
-
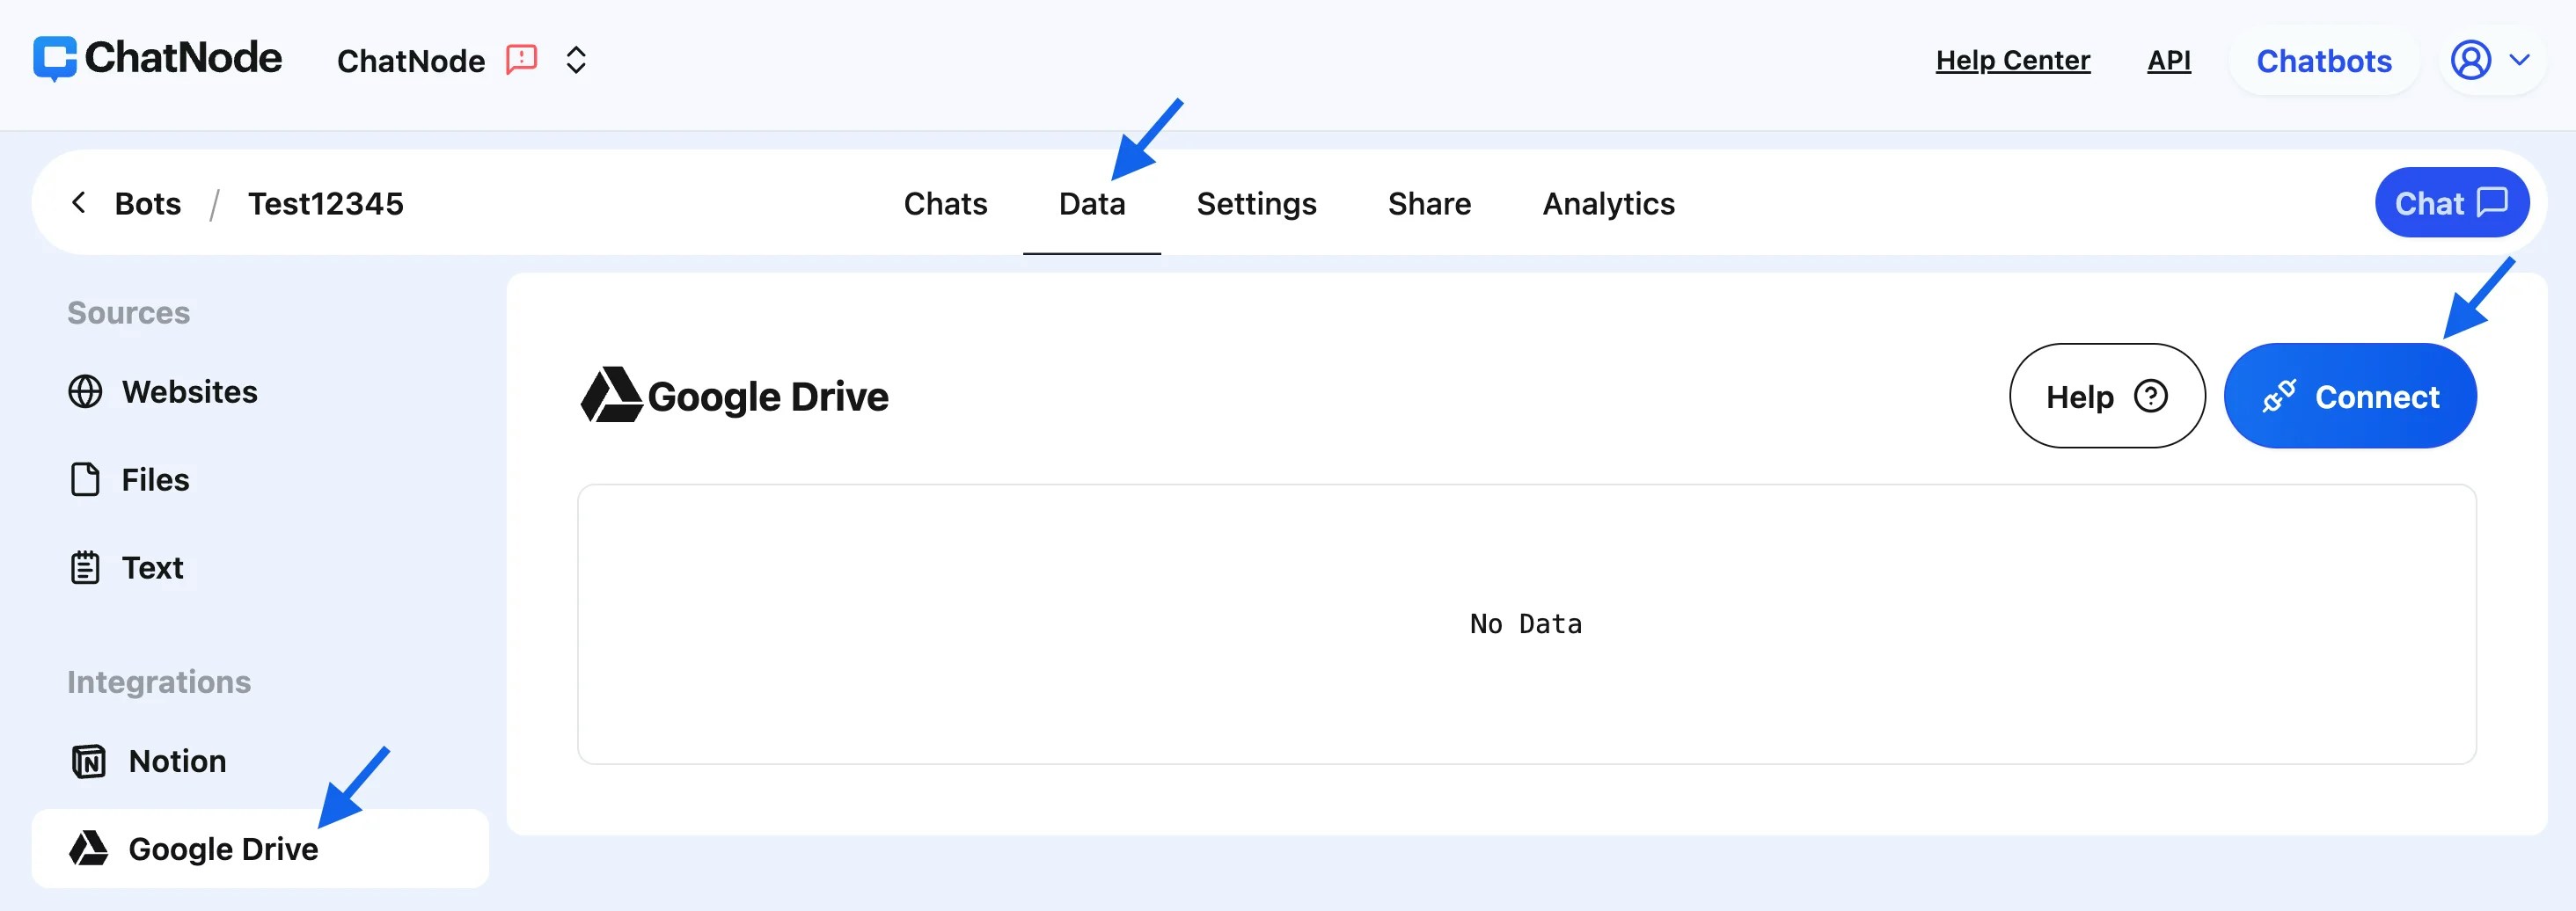
Access the Integration:
- Navigate to the Data section in your ChatNode dashboard.
- Under Integrations, select Google Drive.
-
Connect Your Google Drive Account:
- Click on the Connect button on the Google Drive panel.
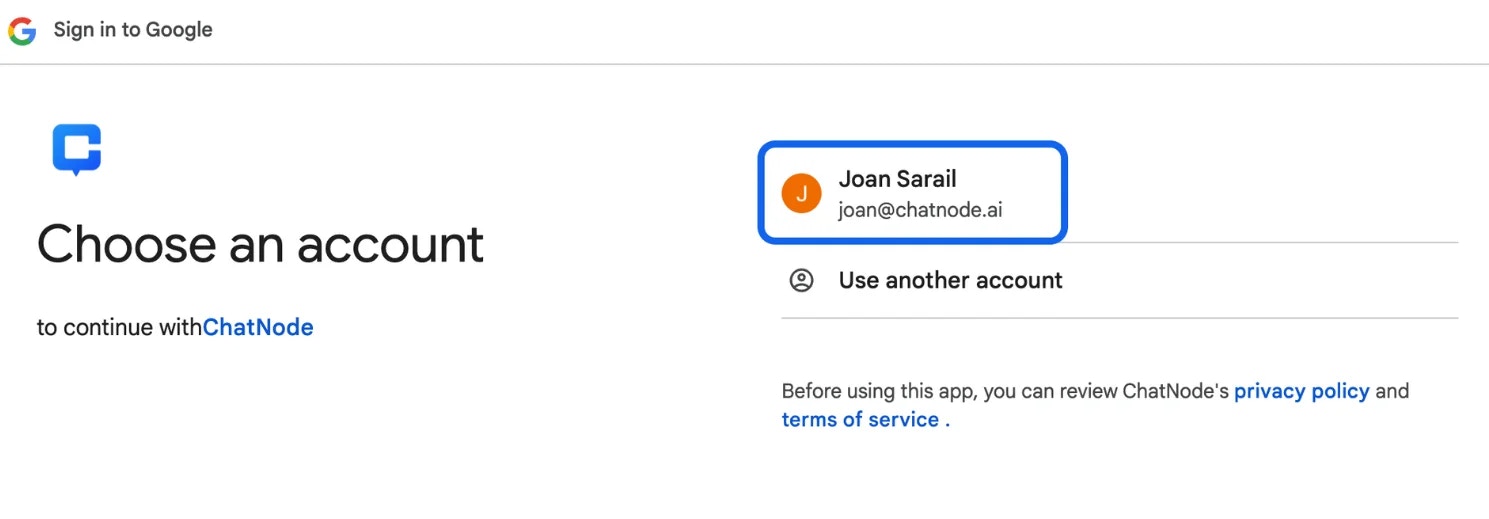
- A Google authorization window will appear. Select the Google account you want to connect to ChatNode.
- Click Continue to proceed.
-
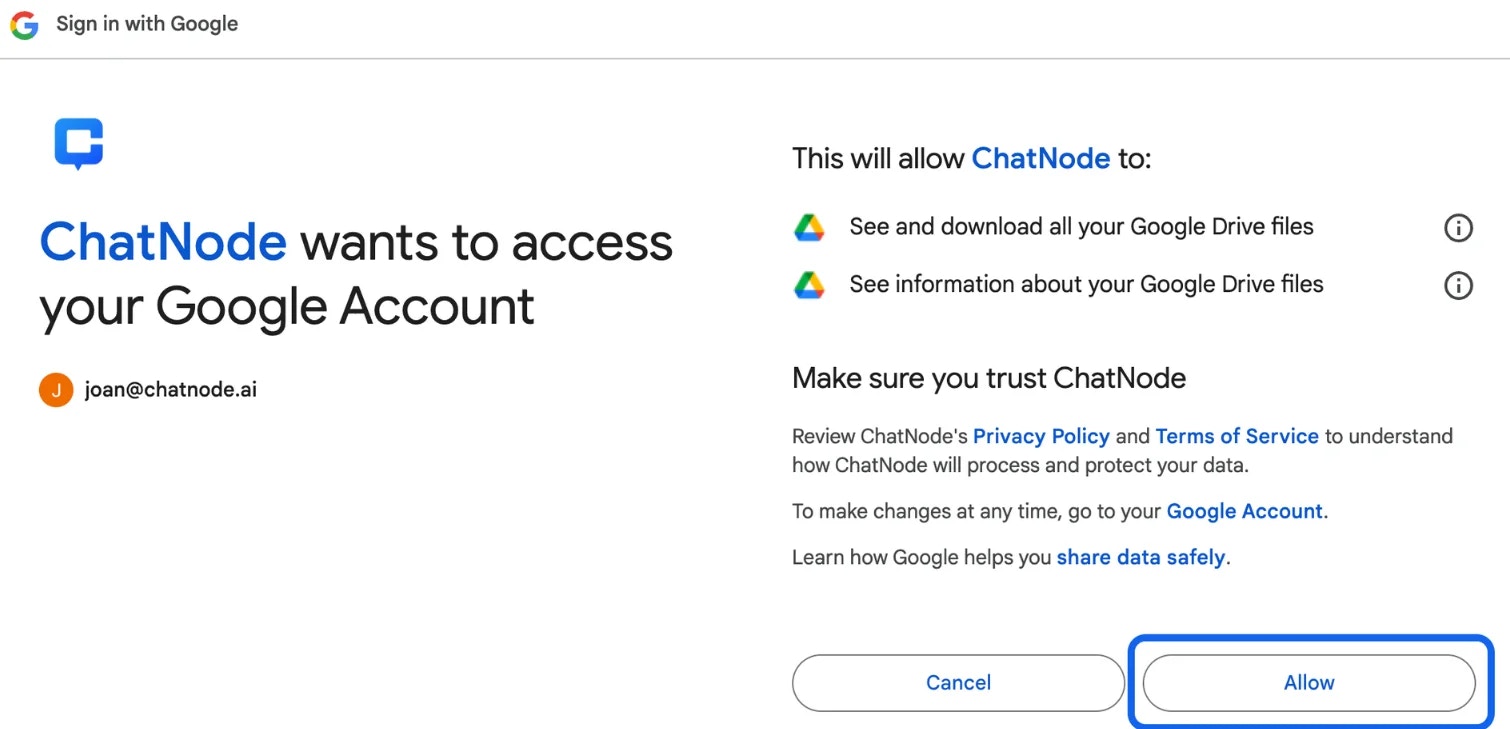
Grant Permissions:
- ChatNode will request access to your Google Drive. The permissions include viewing and downloading your files.
- Review the permissions and click Allow to enable the integration.
-
Confirmation:
- After successfully granting access, a pop-up message will confirm that your Google Drive has been connected.
-
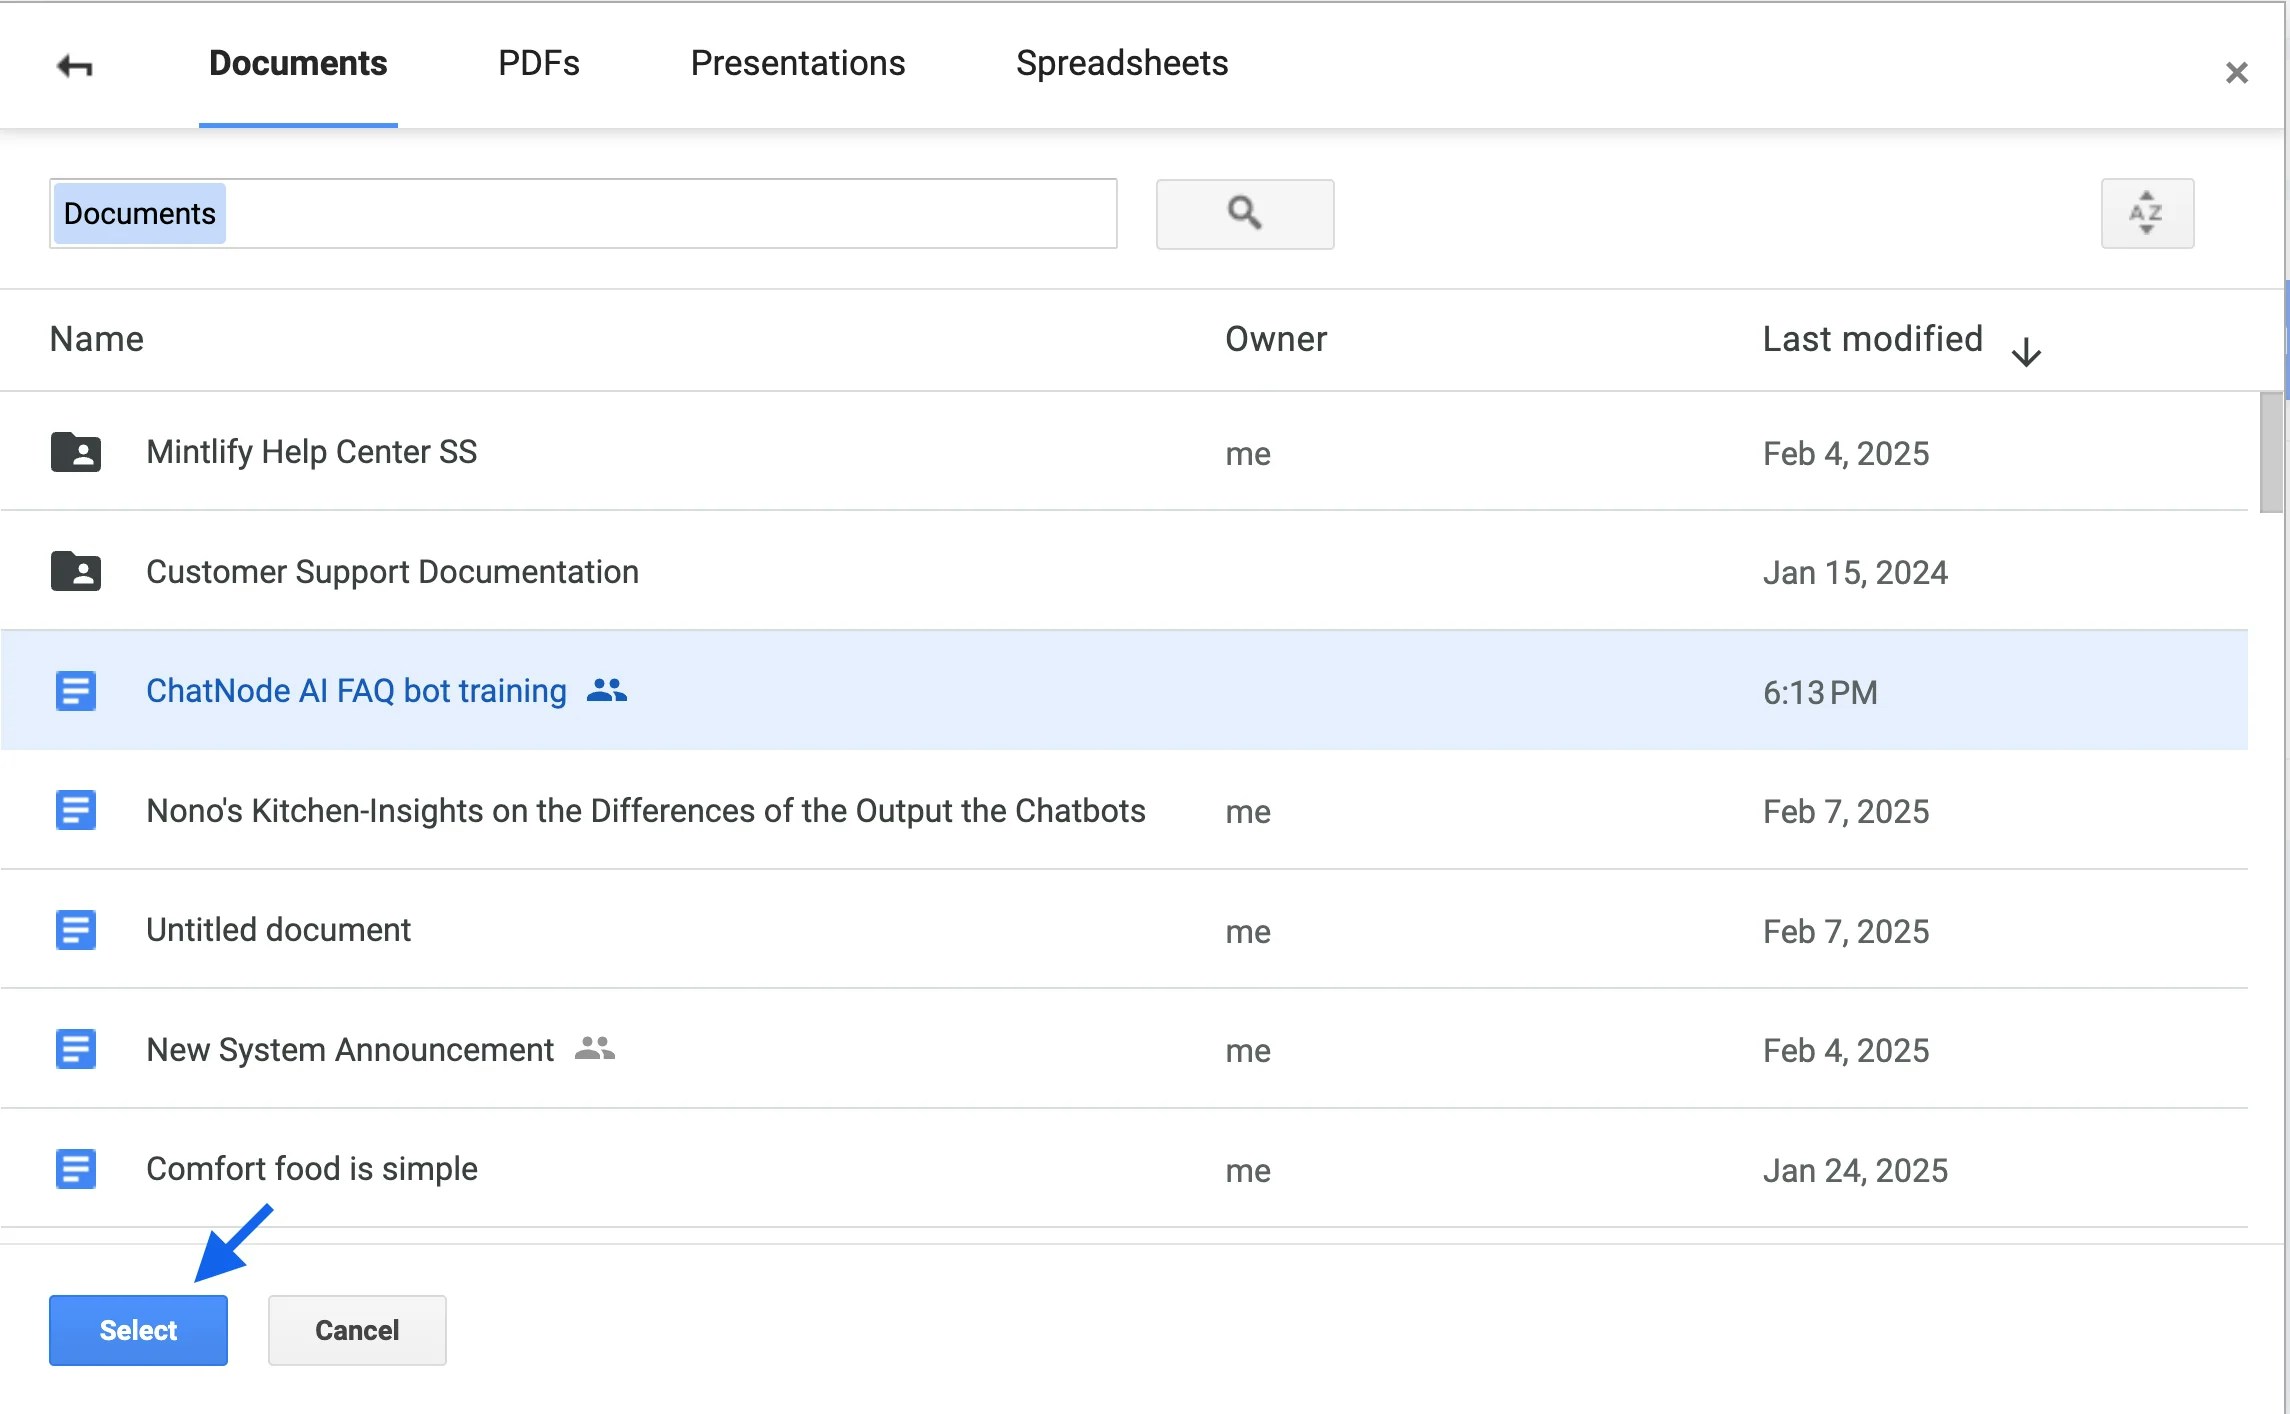
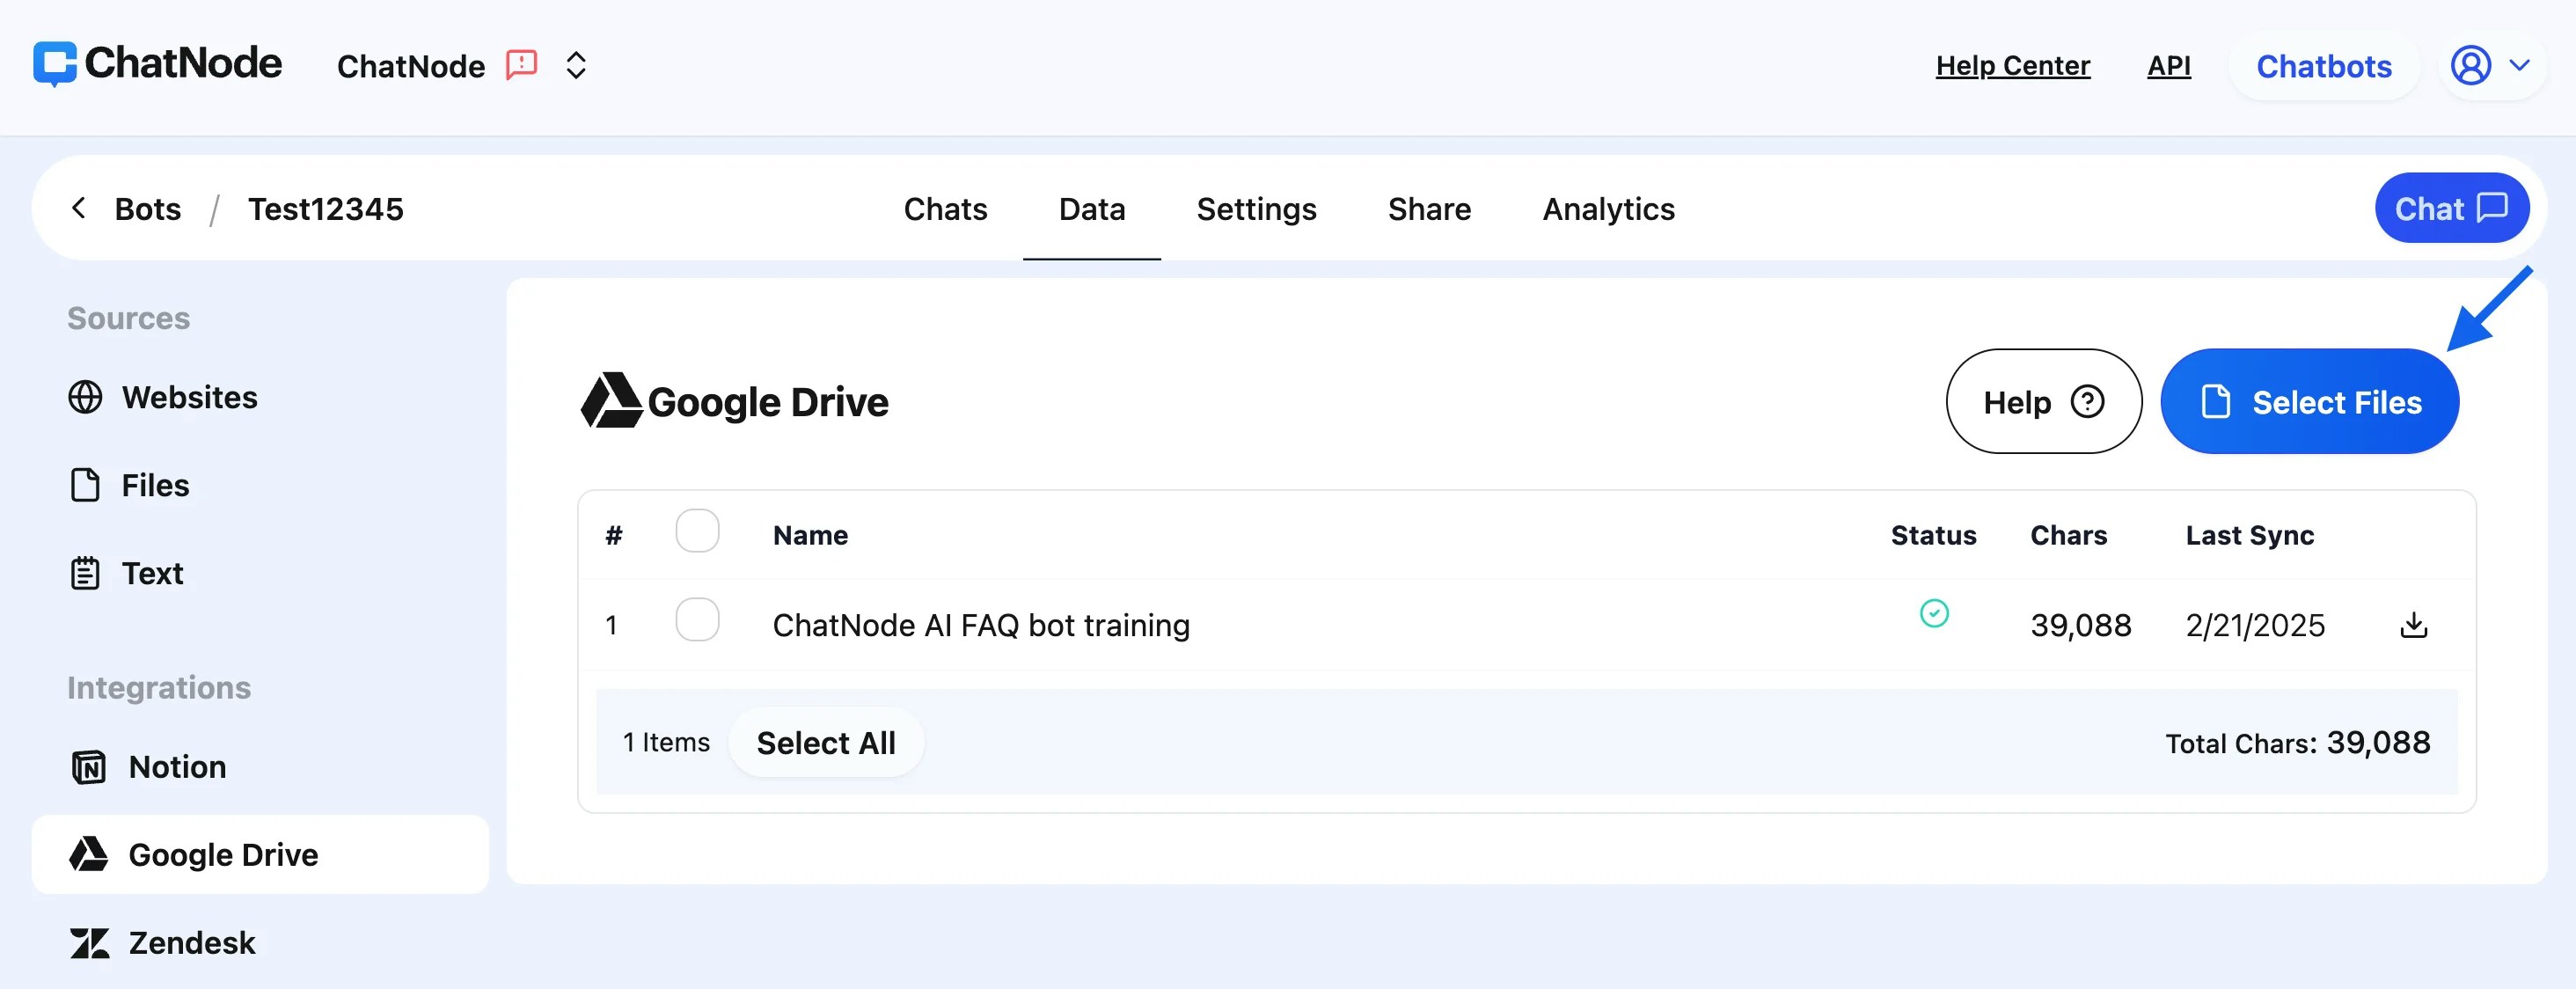
Select Files for Training:
- Click the Select Files button to browse your Google Drive.
- Use the search bar or navigate through your folders to find the files you want to integrate.
- Select the files and click Select to add them to your ChatNode agent.
-
Automatic Training:
- Once files are selected, they will automatically be trained for agent use. You can monitor the training progress in the Google Drive panel.
Managing Your Integrated Files:
-
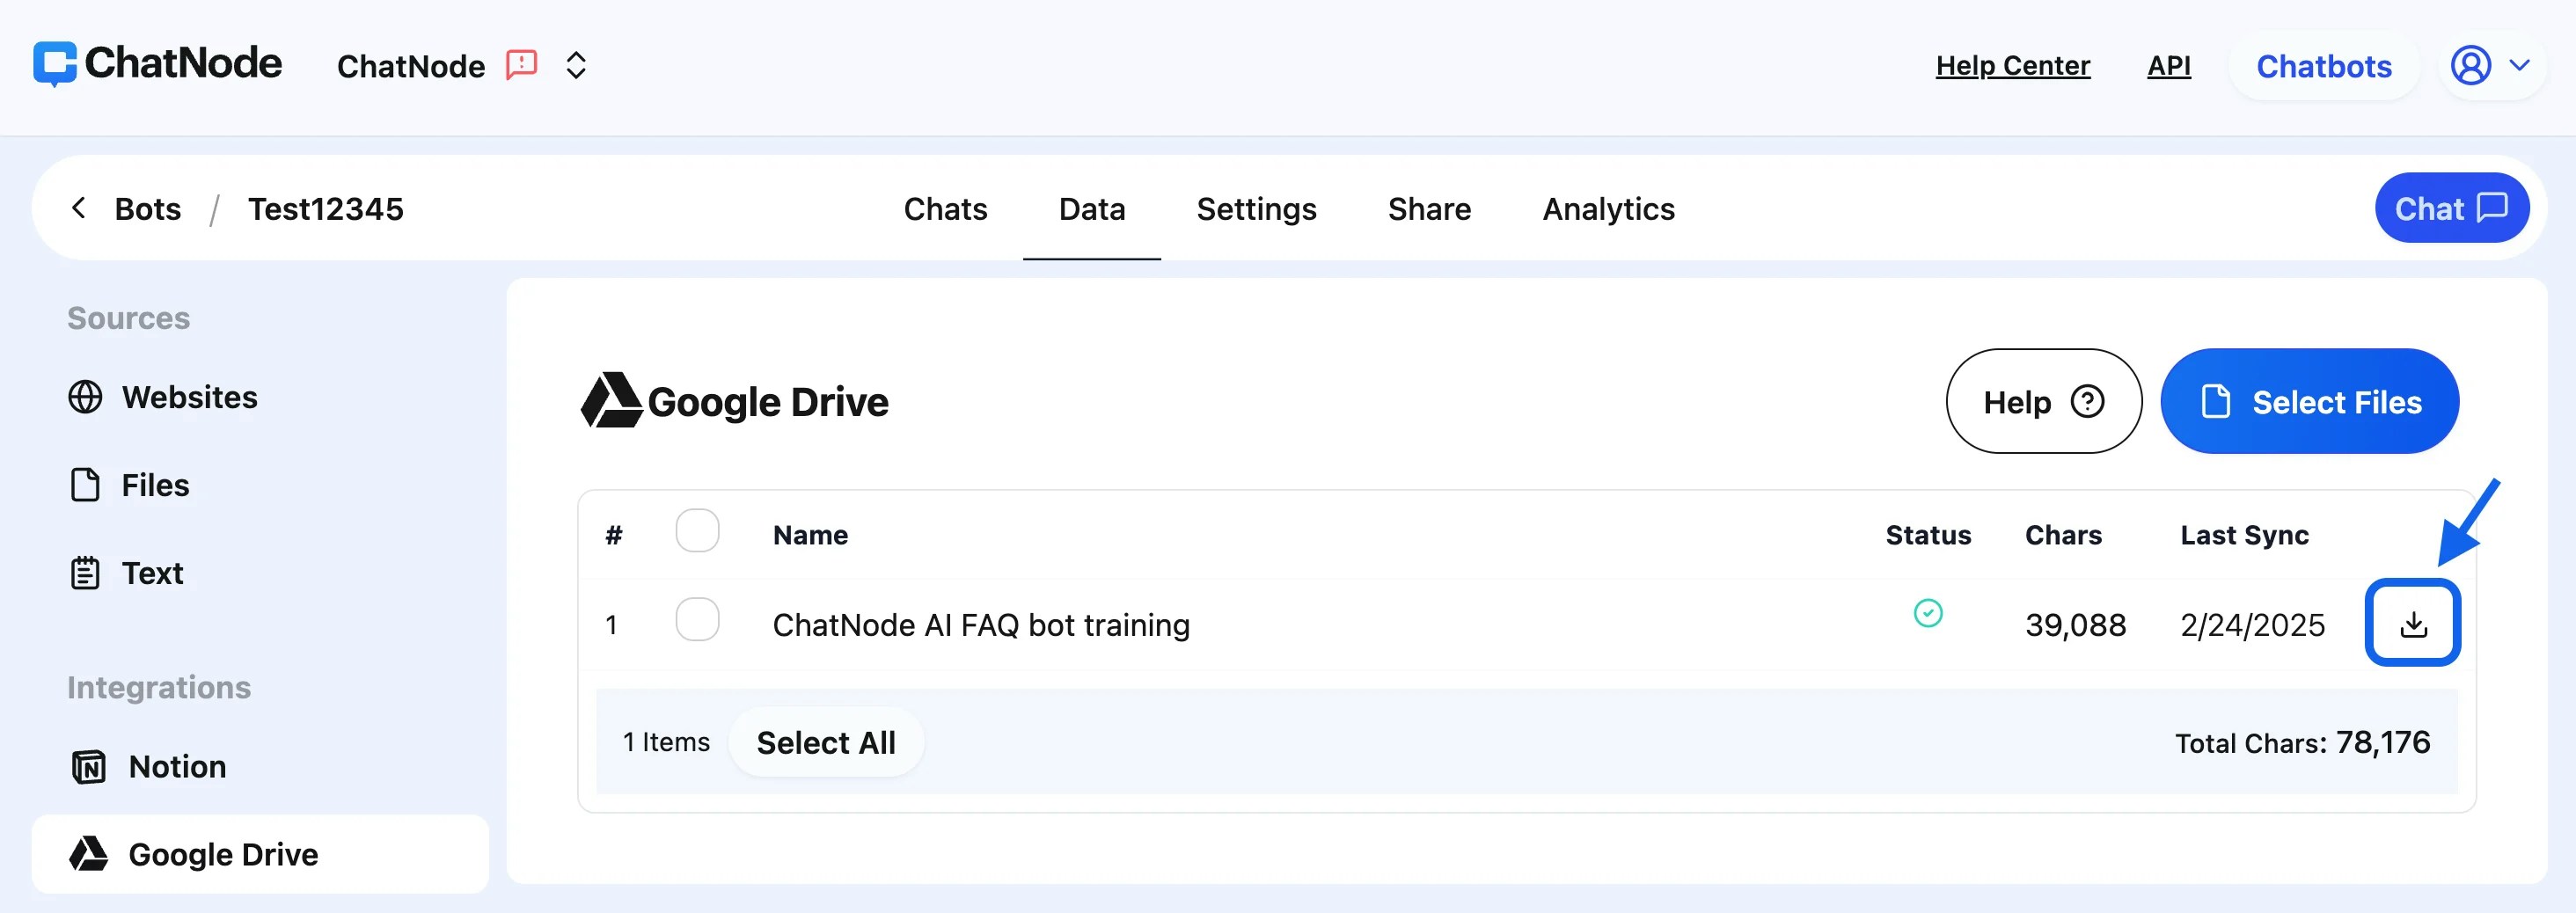
Download Files:
- Each integrated file has a download option, allowing you to export the file content in
.txtformat for offline use or backups.
- Each integrated file has a download option, allowing you to export the file content in
-
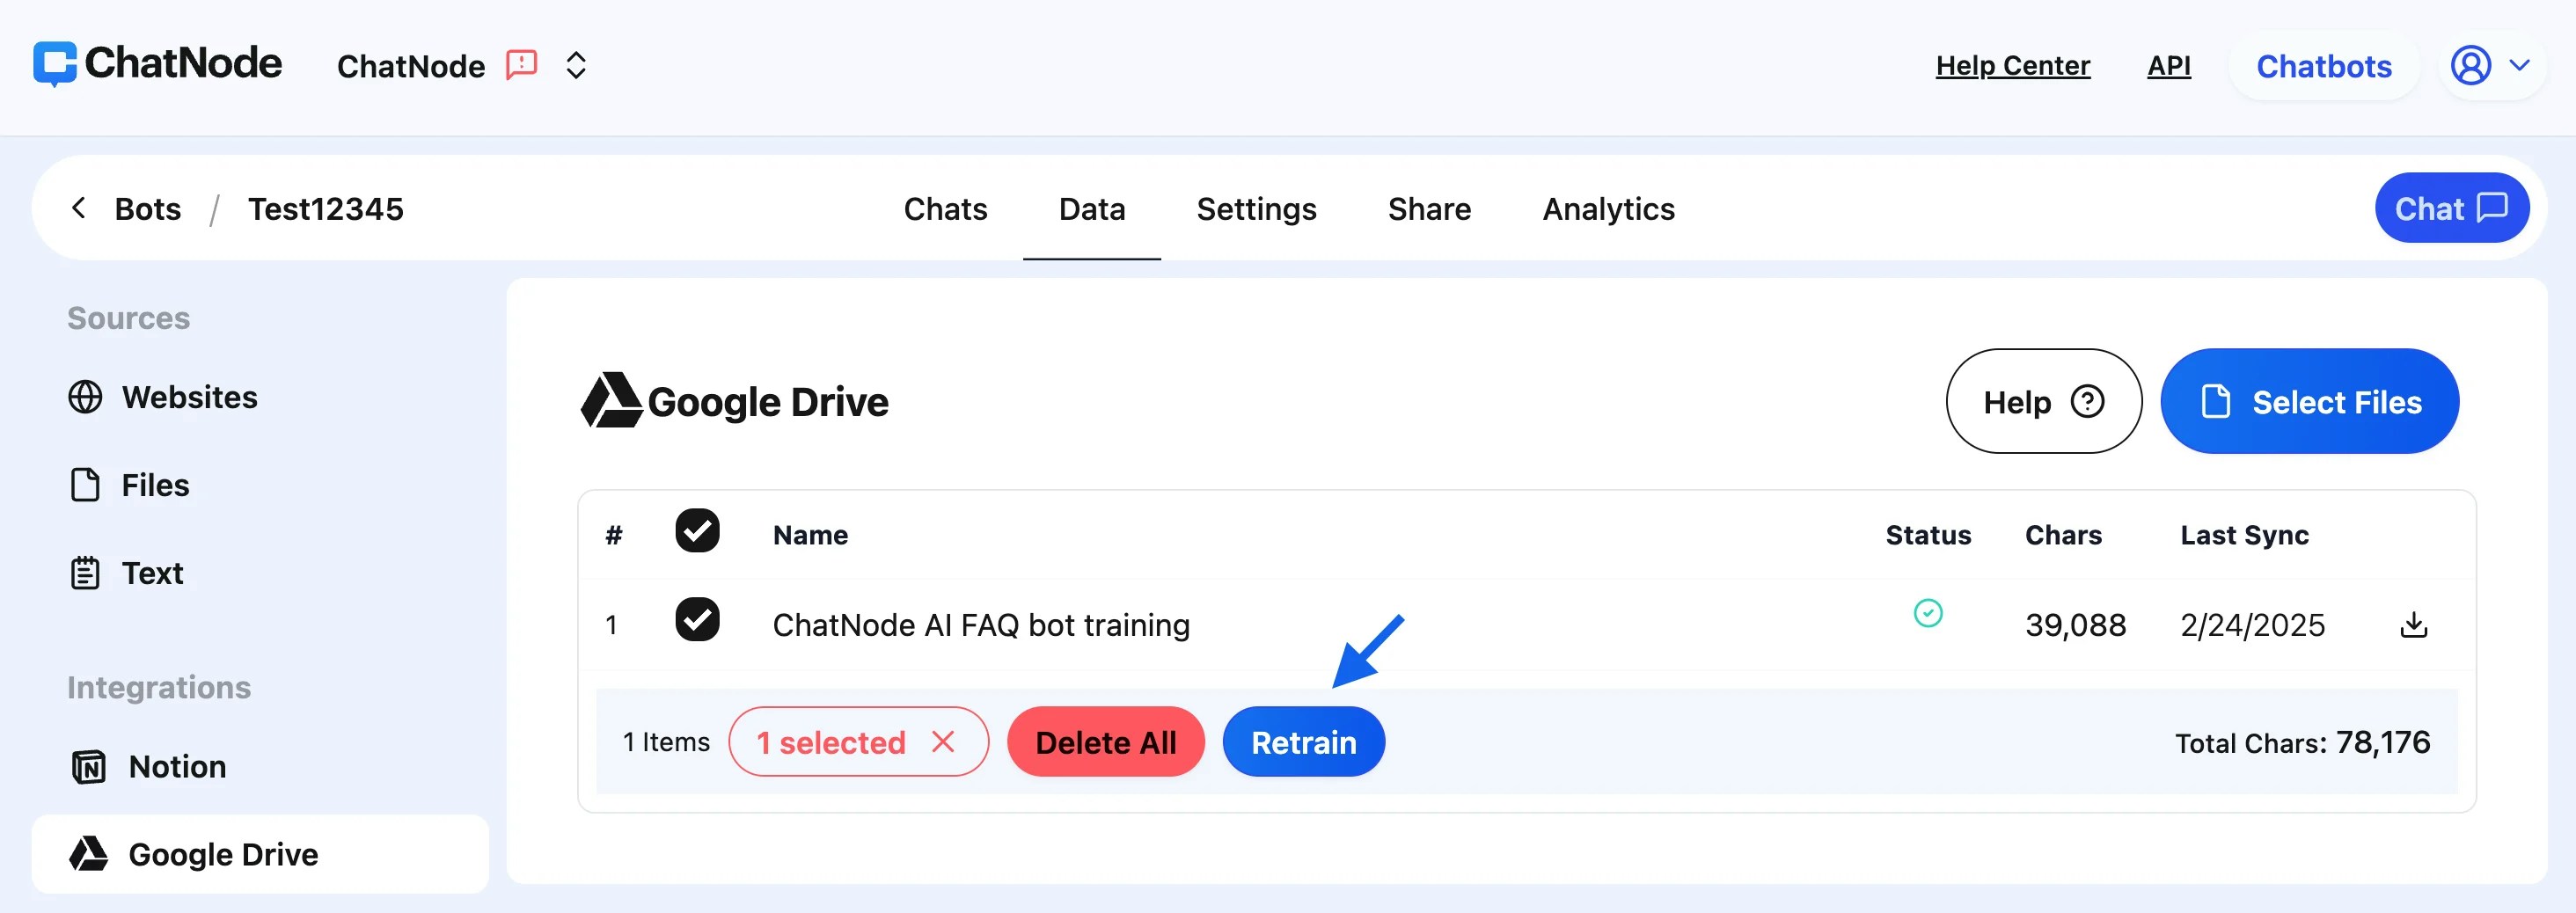
Retrain with New Information:
- If you’ve updated a file in Google Drive, tick the checkbox next to the file in the ChatNode dashboard and click Retrain. This ensures the agent uses the most up-to-date data.
-
Manage Connected Files:
- If you need to add new files, repeat the Select Files process.
- For existing files, check the Last Sync date to ensure your agent is using the latest version.
Benefits of Google Drive Integration:
- Ease of Use: Directly pull data from Google Drive without manual uploads.
- Dynamic Updates: Retrain your agent with new or updated data instantly.
-
Content Backup: Download files in
.txtformat for review or archiving.
How to Disconnect ChatNode from Your Google Drive
If you need to disconnect ChatNode from your Google Drive, follow these simple steps:Steps to Disconnect ChatNode:
-
Access Your Google Account:
- Open your Gmail or any Google service.
- Click on your profile picture in the top-right corner.
- Select Manage your Google Account from the dropdown menu.
-
Navigate to Security Settings:
- In your Google Account dashboard, click on the Security tab from the left-hand menu.
-
Locate Third-Party App Connections:
- Scroll down to the section titled Your connections to third-party apps & services.
- Find ChatNode in the list of connected apps.
- Click on ChatNode to view its details.
-
Delete Connections:
- Scroll down in the ChatNode details section.
- Click on Delete all connections you have with ChatNode.
-
Confirm Disconnection:
- A confirmation pop-up box will appear.
- Click Confirm to proceed with the disconnection.
-
Confirmation Message:
- A message will appear at the bottom of the screen, confirming that you are no longer connected to ChatNode.
- You can reconnect ChatNode at any time by re-initiating the integration process.
Important Notes:
- Disconnecting ChatNode will revoke its access to your Google Drive, but any data previously synced to ChatNode will remain in ChatNode’s database unless explicitly deleted.
- If you need further assistance, check ChatNode’s Help Center or contact their support team.