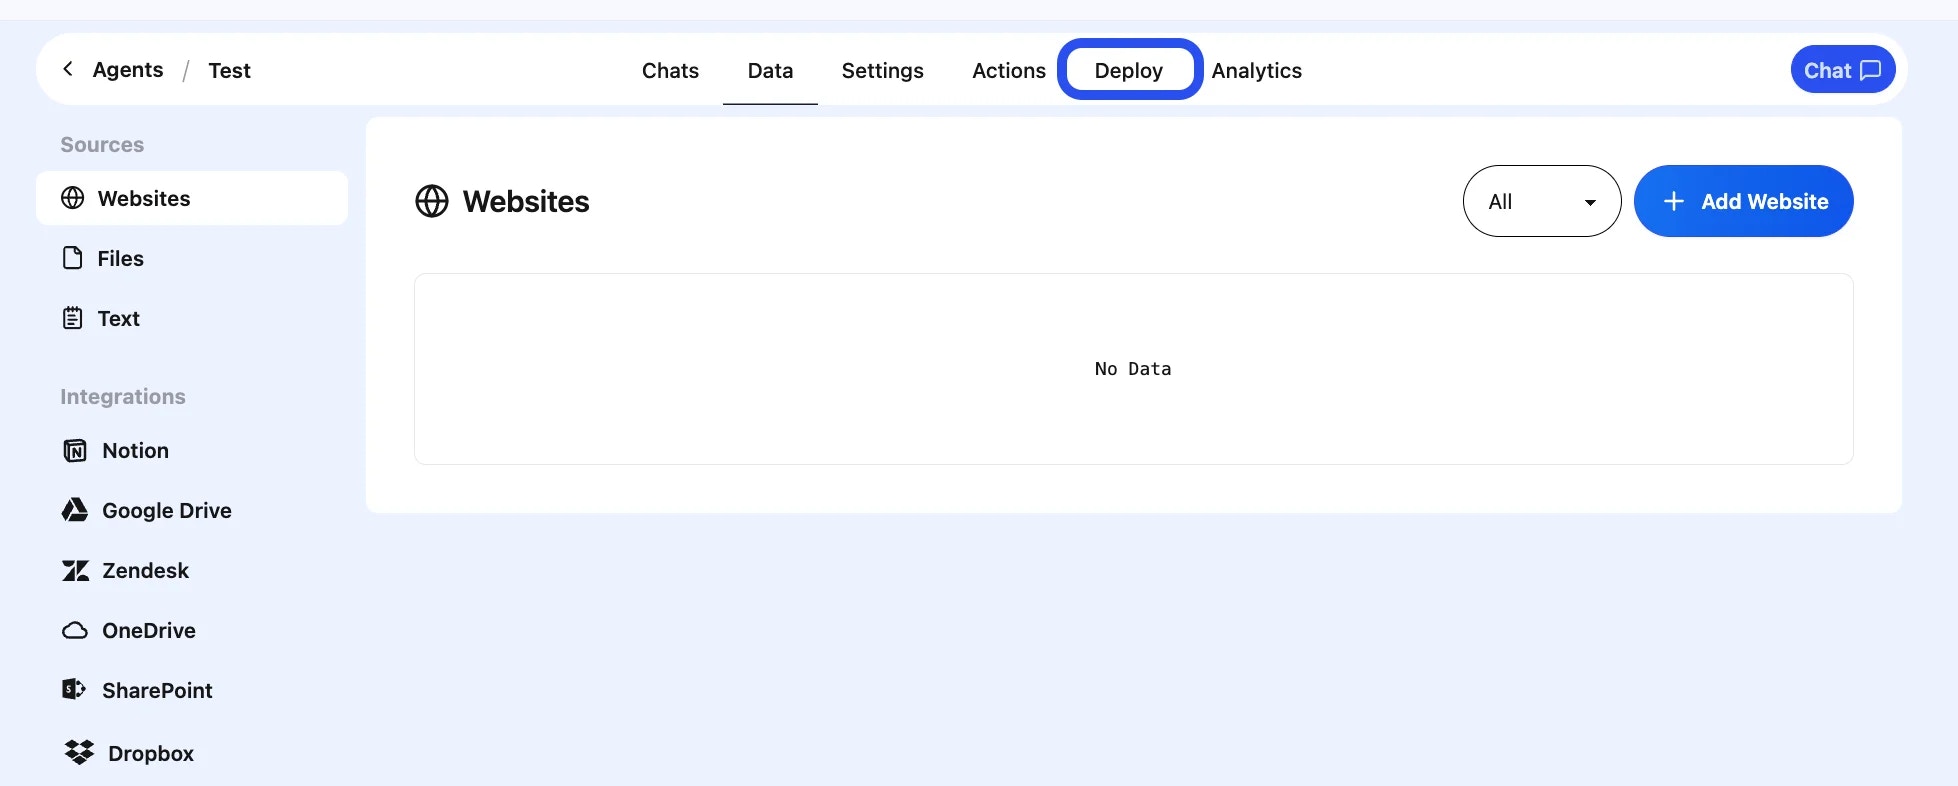
- Open your agent
- Click Deploy in the left navigation menu

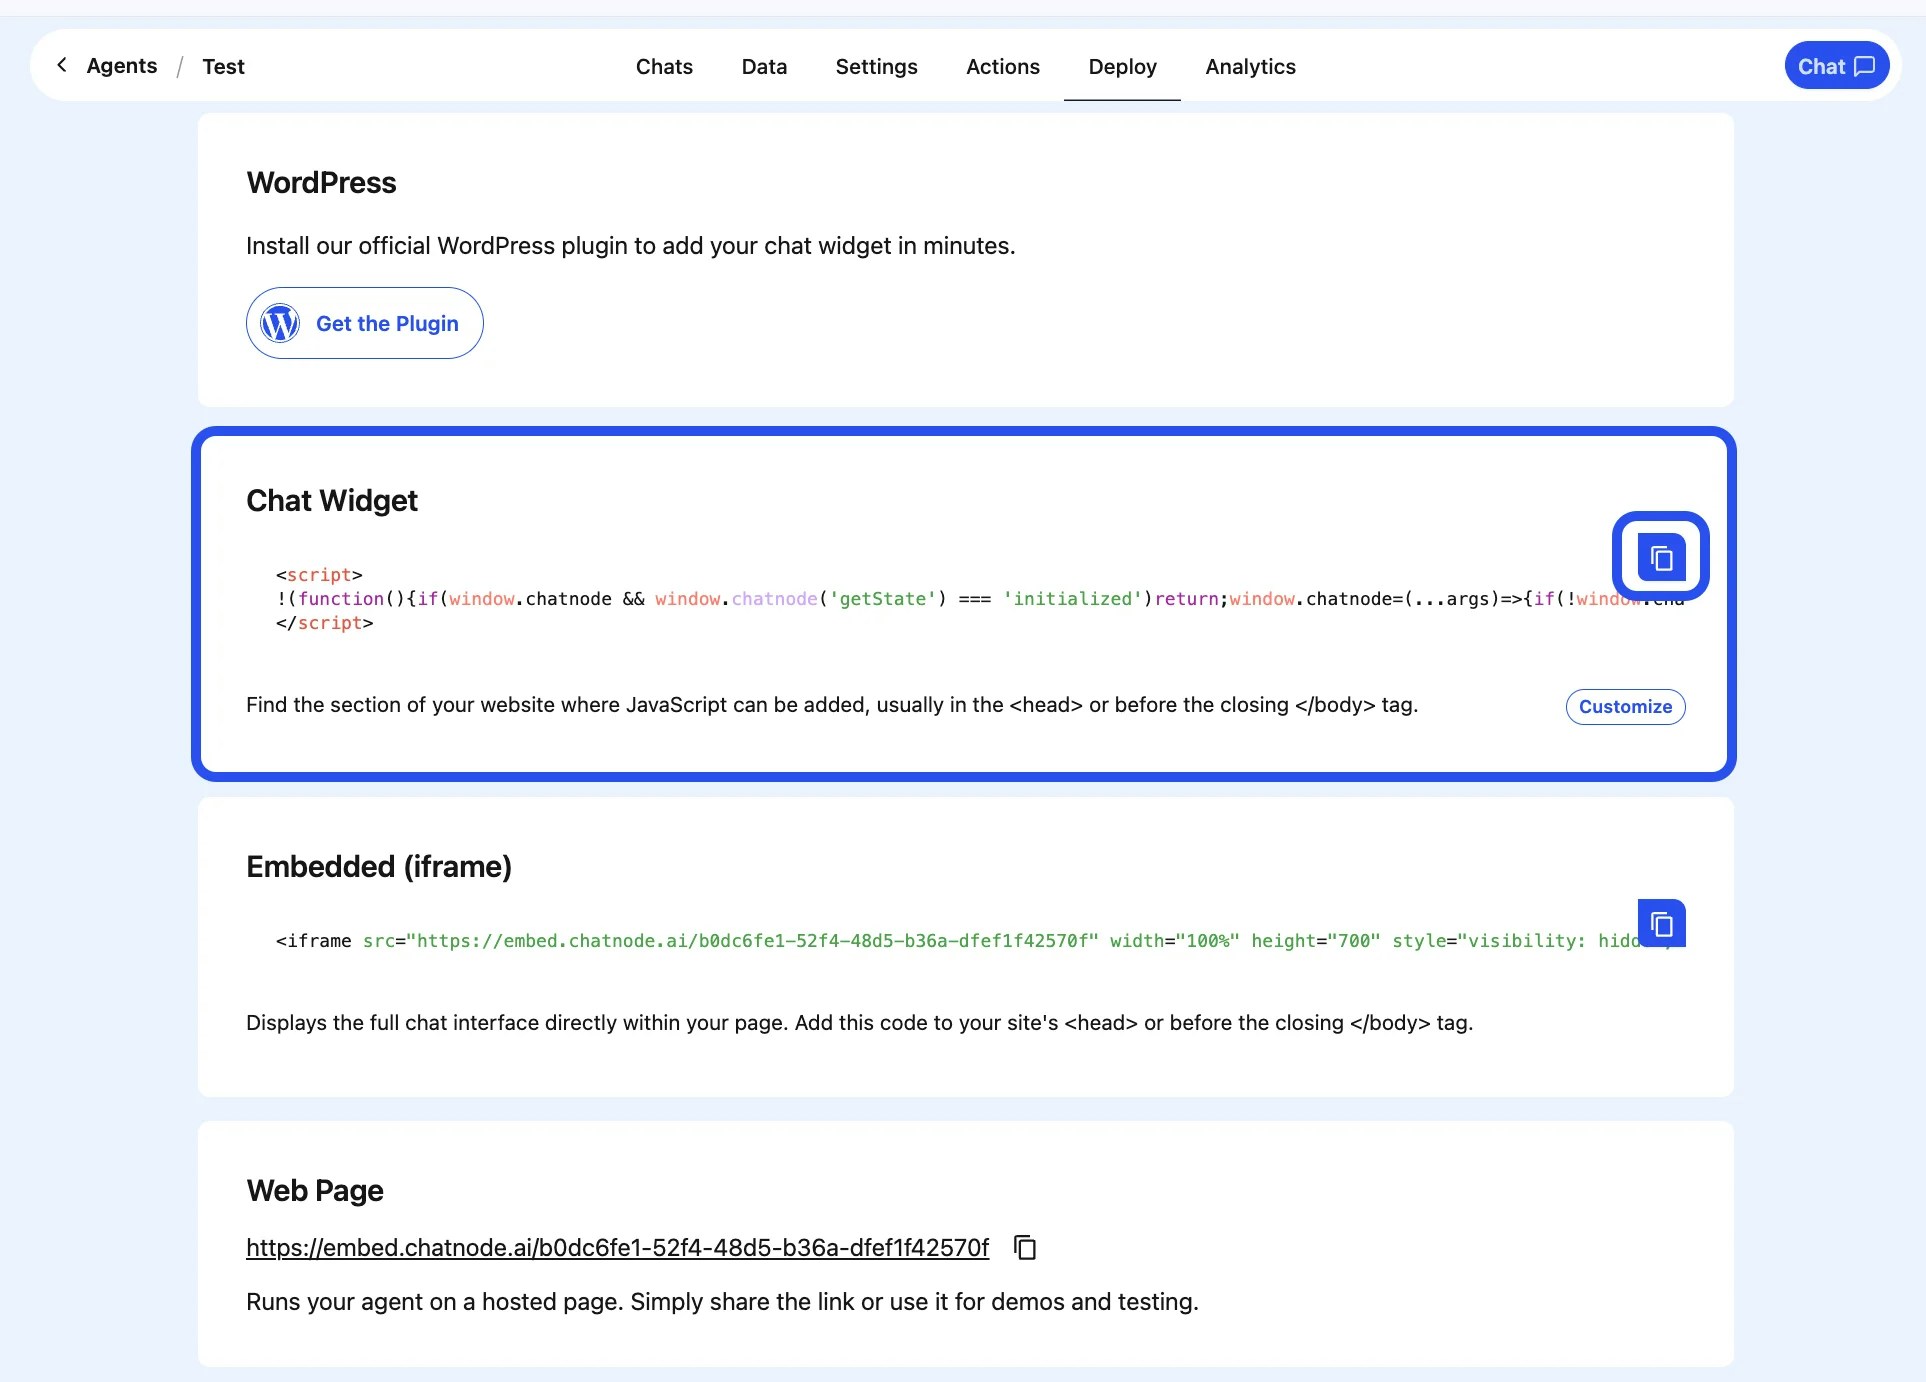
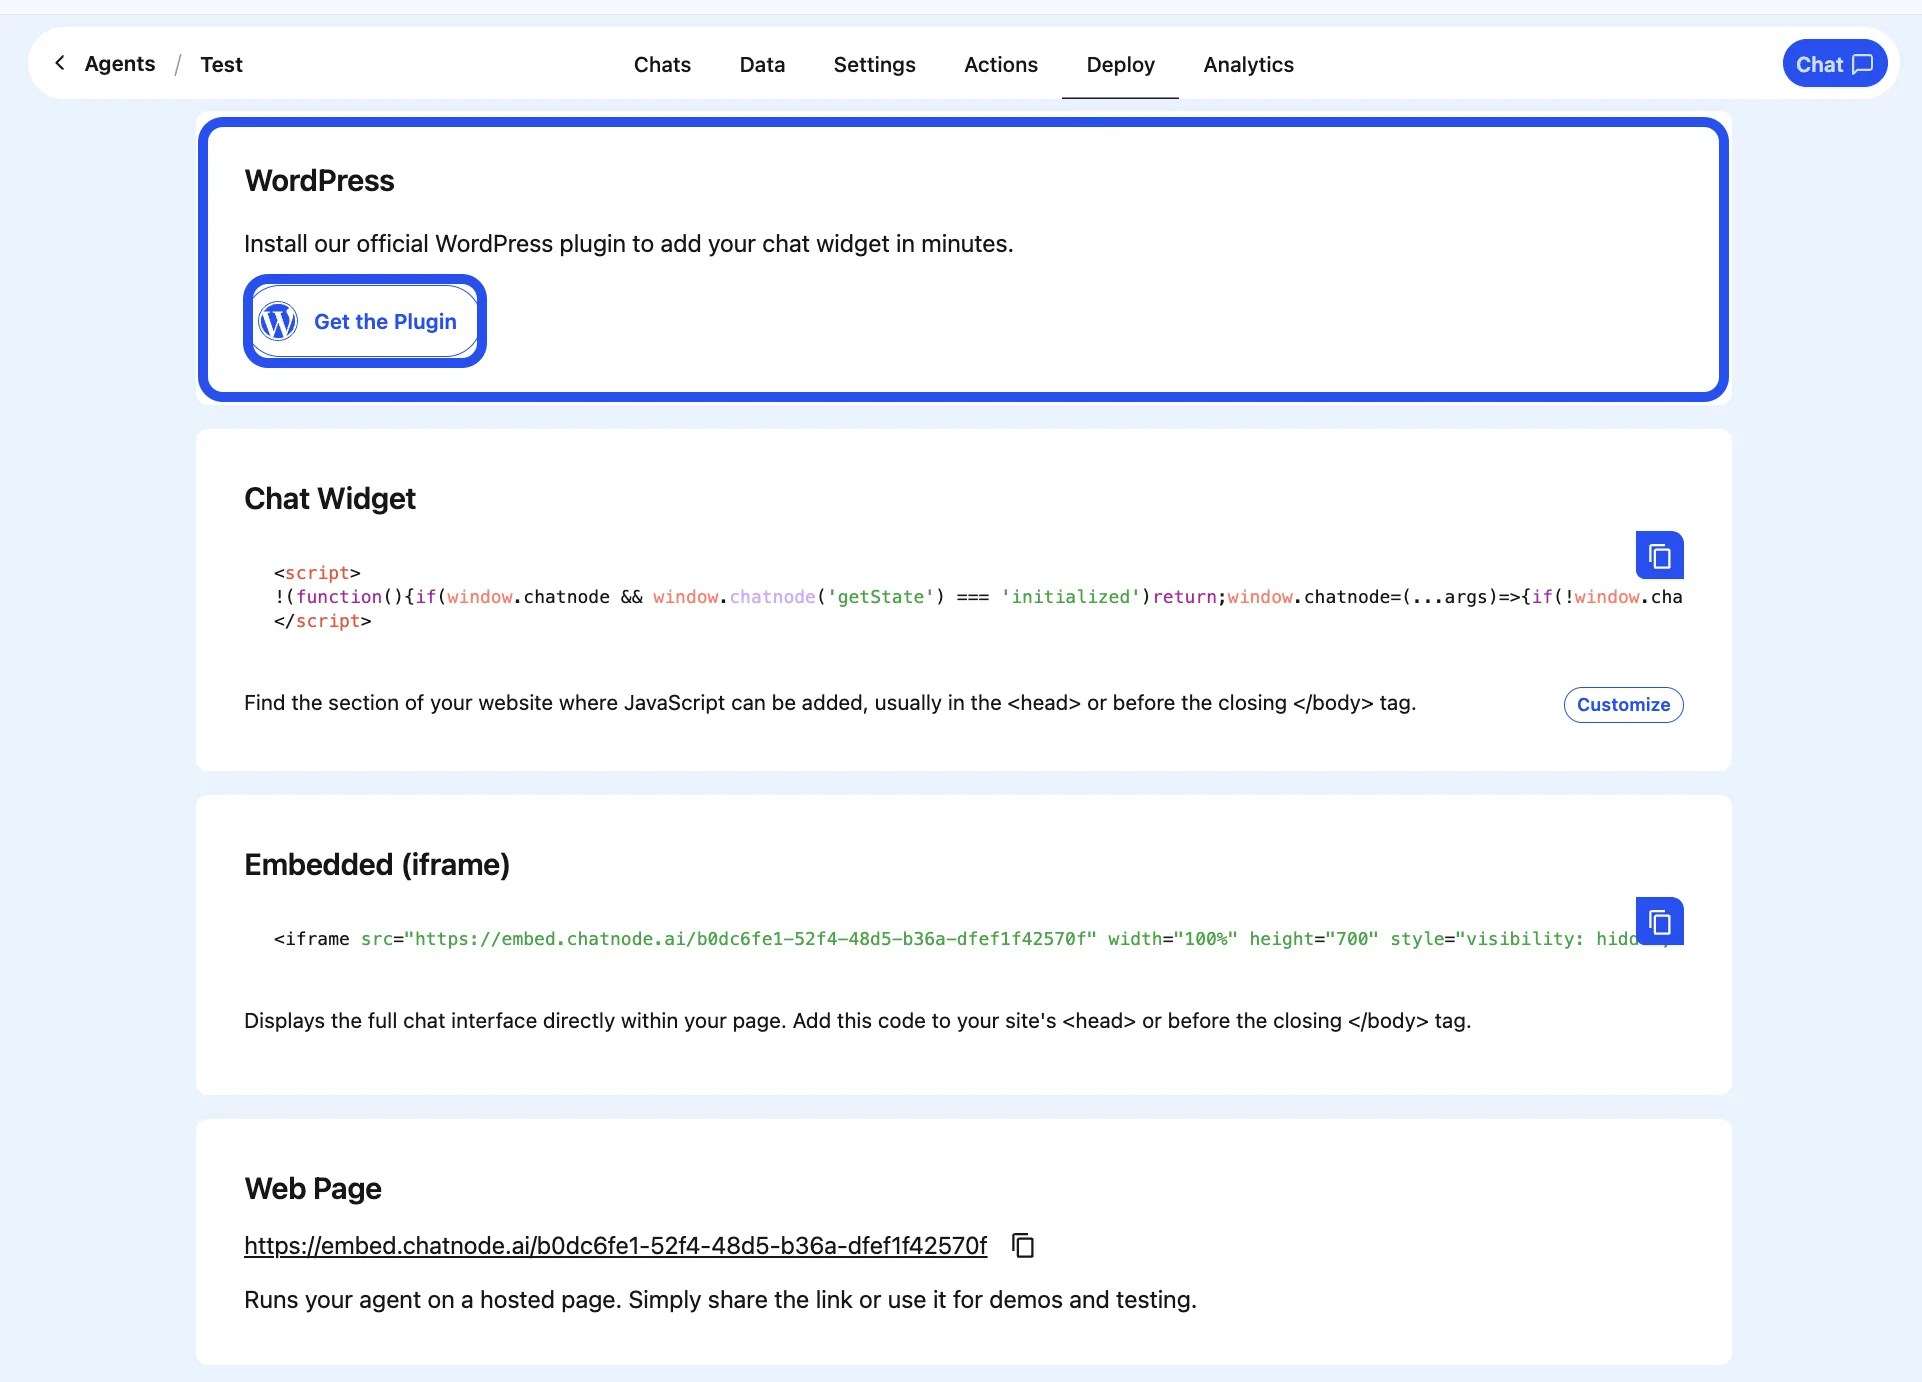
- Copy the provided script snippet
- Paste it into your website’s HTML
- Save and publish your changes
.webp?fit=max&auto=format&n=Q4WkqaYaPH54EekZ&q=85&s=663215388f65a236319fe518338c9ff2)
- Install the ChatNode WordPress plugin (if applicable).
- Add your bot’s share code to the plugin settings.
- Save your configuration.
- Refresh your live website
- Look for the chat bubble in the corner of the page
- Send a few messages to ensure it loads correctly
- Ensure the agent is set to Public
- Confirm you saved/published changes
- Clear your browser cache
- Disable caching plugins temporarily (WordPress)