- Navigate to Settings: In your ChatNode account, go to the ‘Settings’ tab on top menu to access live chat settings.
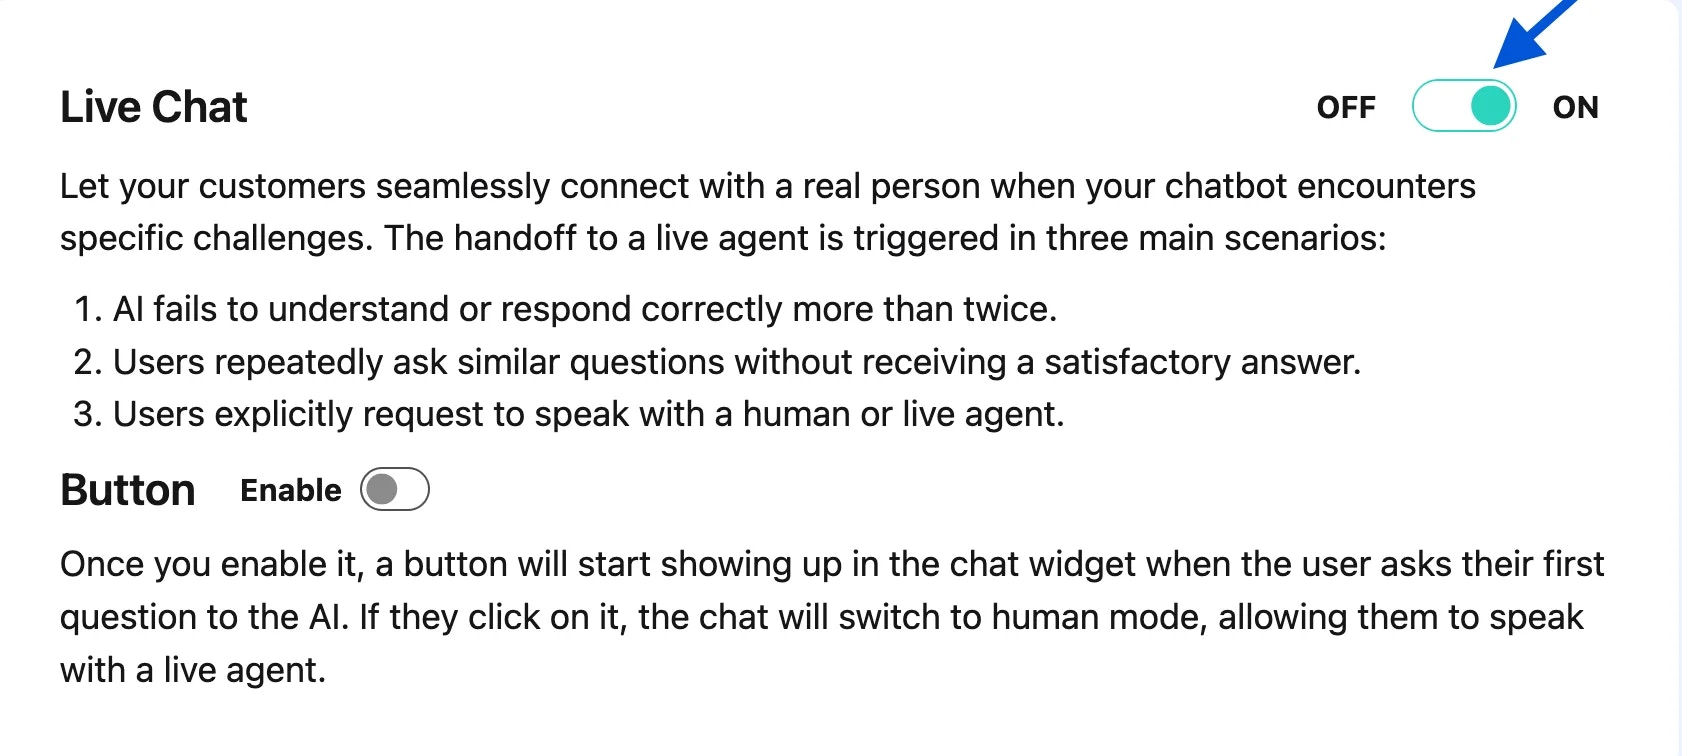
- Turn on Live Chat: Toggle Live Chat to ON. Once enabled, users are directed to a live agent when certain conditions are met.
3. Enabling the Live Chat Button
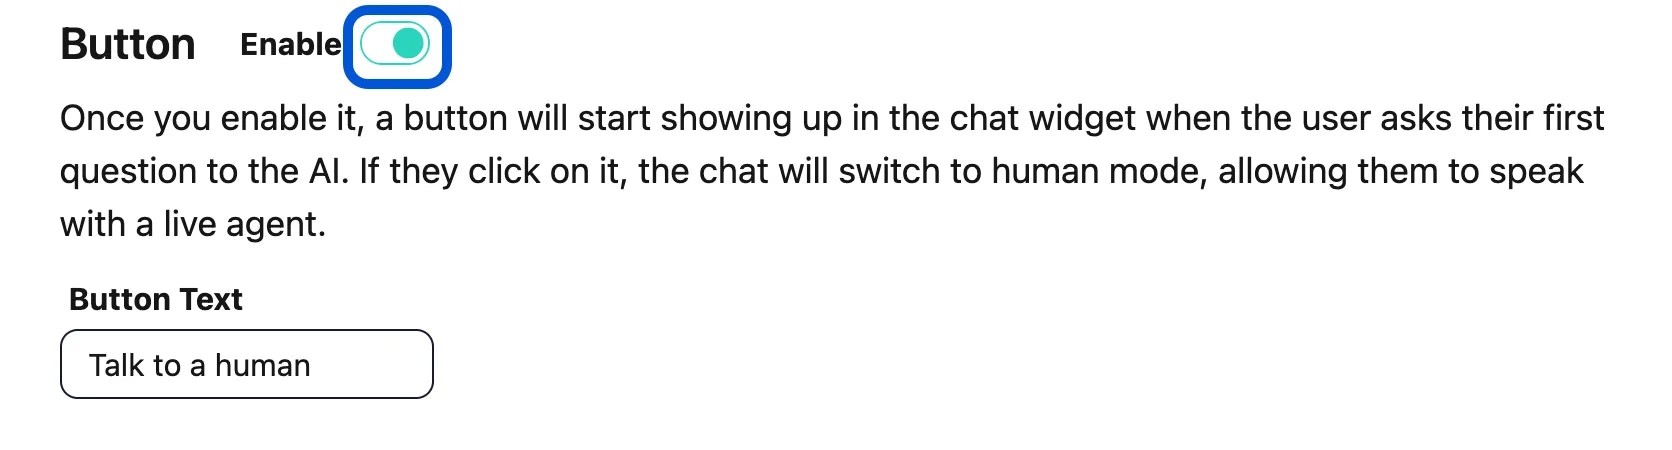
- Enable Button Option: Activate the Live Chat Button within the chat interface for users to initiate a live conversation.
- Functionality: When users click this button, the chat switches to “human mode,” connecting them with a live agent.
4. Managing Live Chat in Real-Time
-
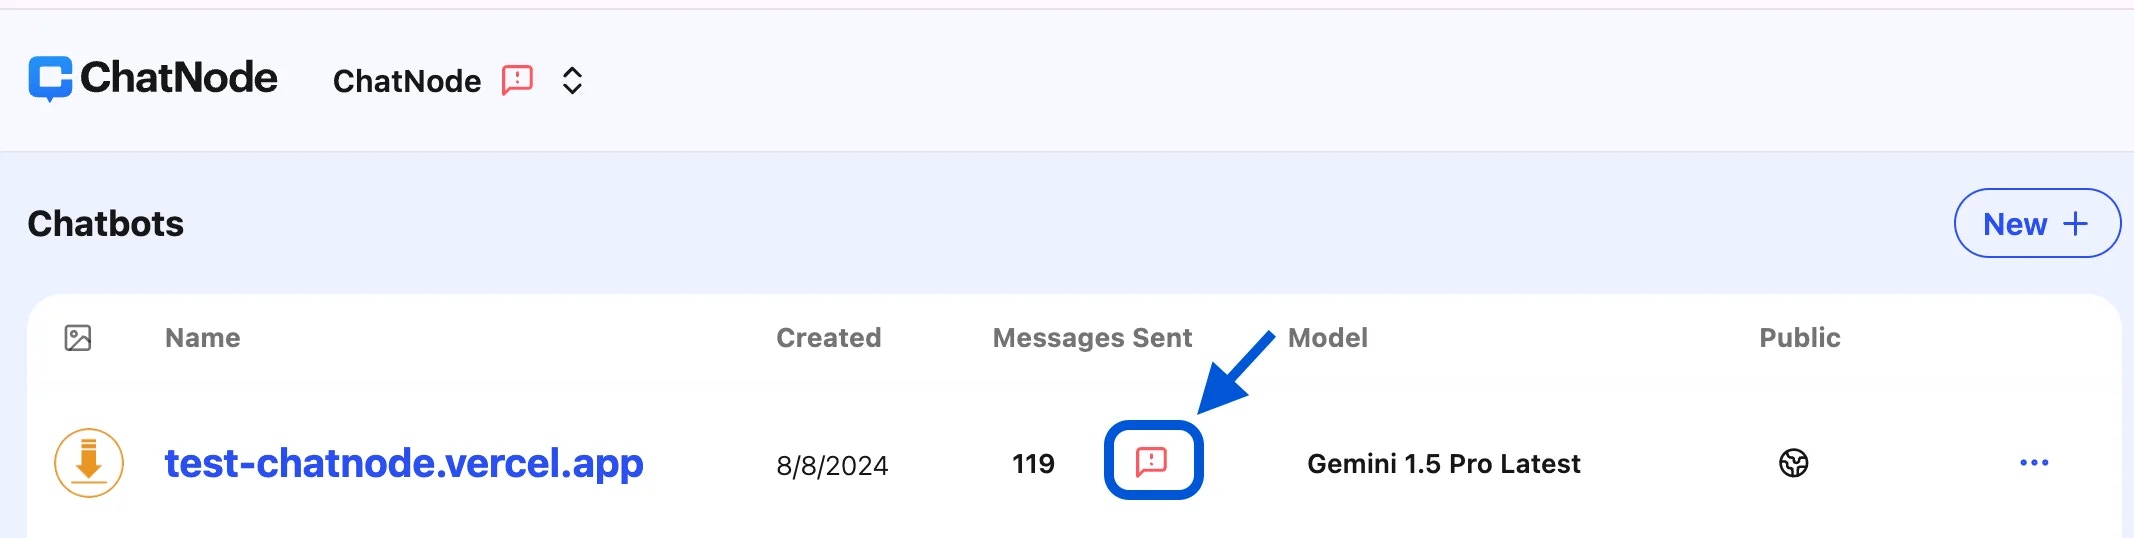
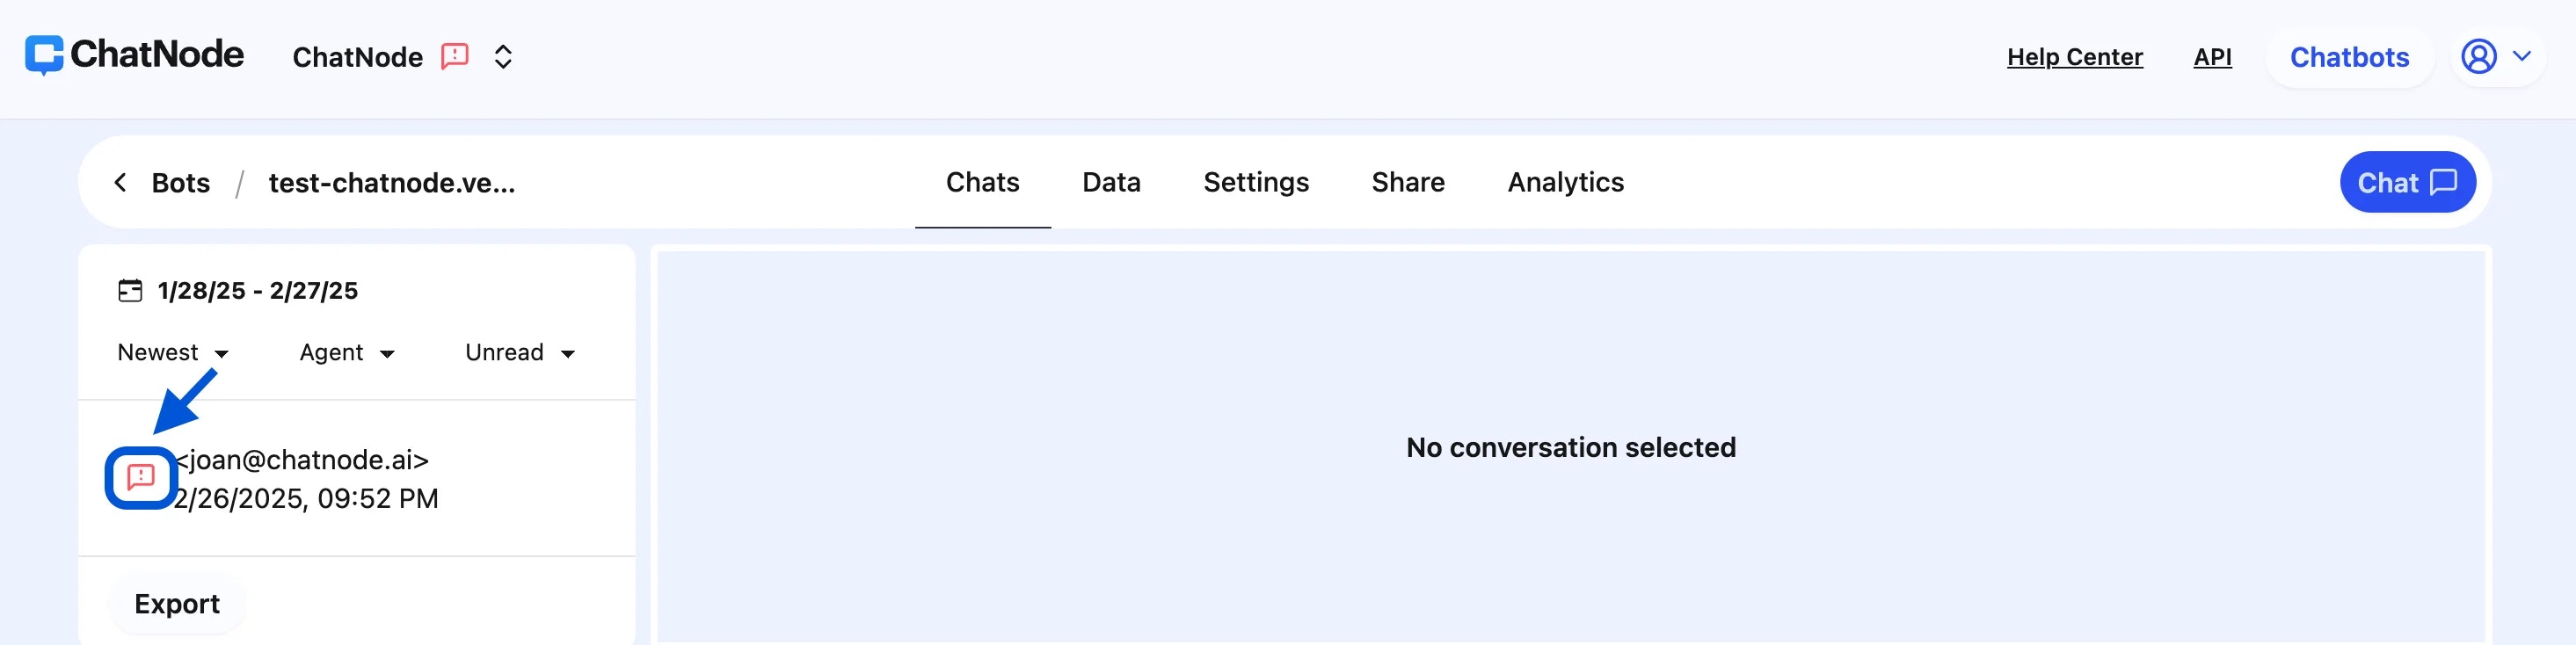
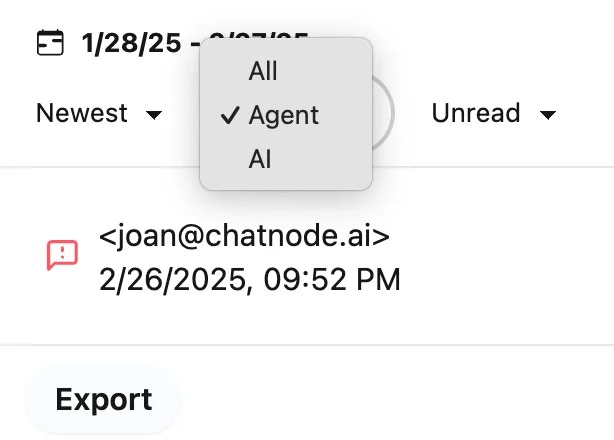
Red Chat Icons: A red icon appears next to the agent and specific chats when live assistance is requested, helping you easily identify active conversations needing attention.
-
Filtering Chats: To focus on live chat interactions that require agent input, use the filter option. Click the “All” dropdown and select “Agent” to view only these conversations.
5. Exit Live Chat Mode on Webpage
- To exit Live Chat mode, simply click the refresh button on your webpage.